Today's Insights: The Complete Guide to Laser Level Setup: Professional Insights for Industry Leaders
Understanding Basic Laser Level Operations
Laser levels have become indispensable tools in modern construction and professional projects, transforming how we approach precision alignment tasks. As industry professionals working with wholesalers and distributors, we understand the critical importance of proper setup and equipment selection. This comprehensive guide will explore everything from basic operations to advanced setup techniques, helping you make informed decisions for your business.
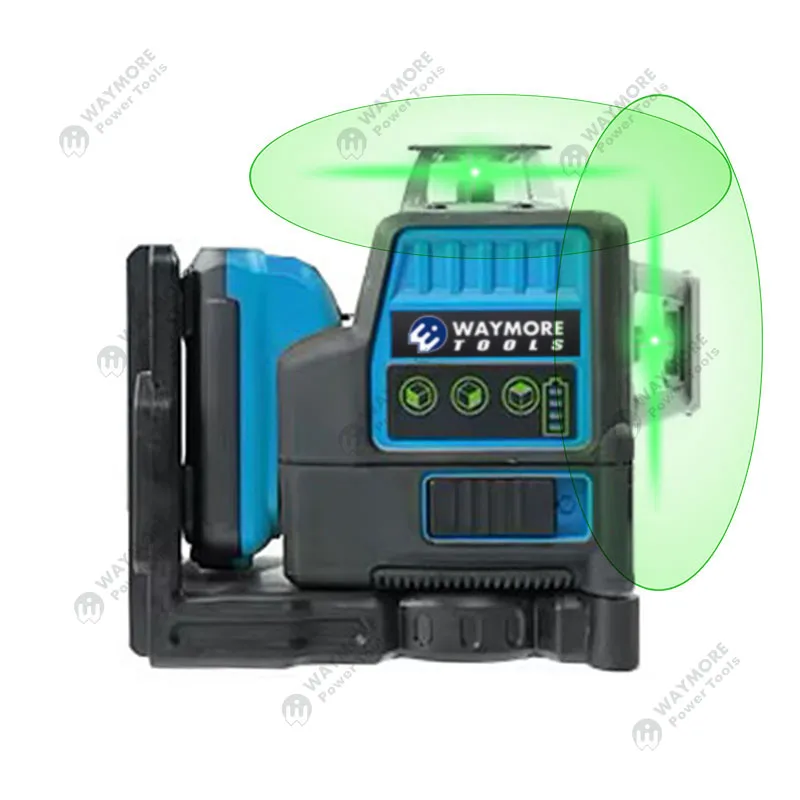
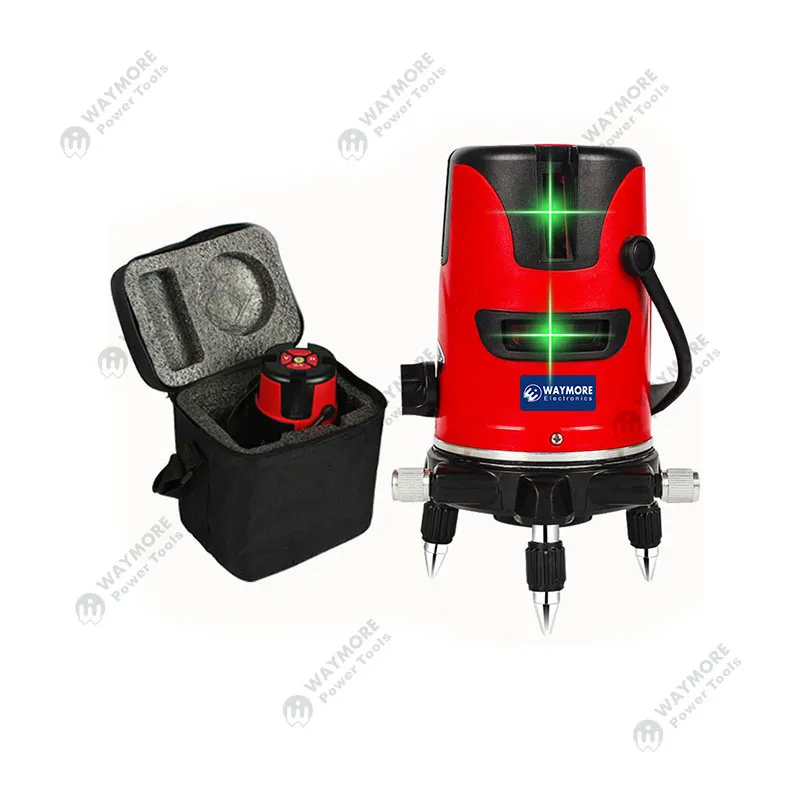
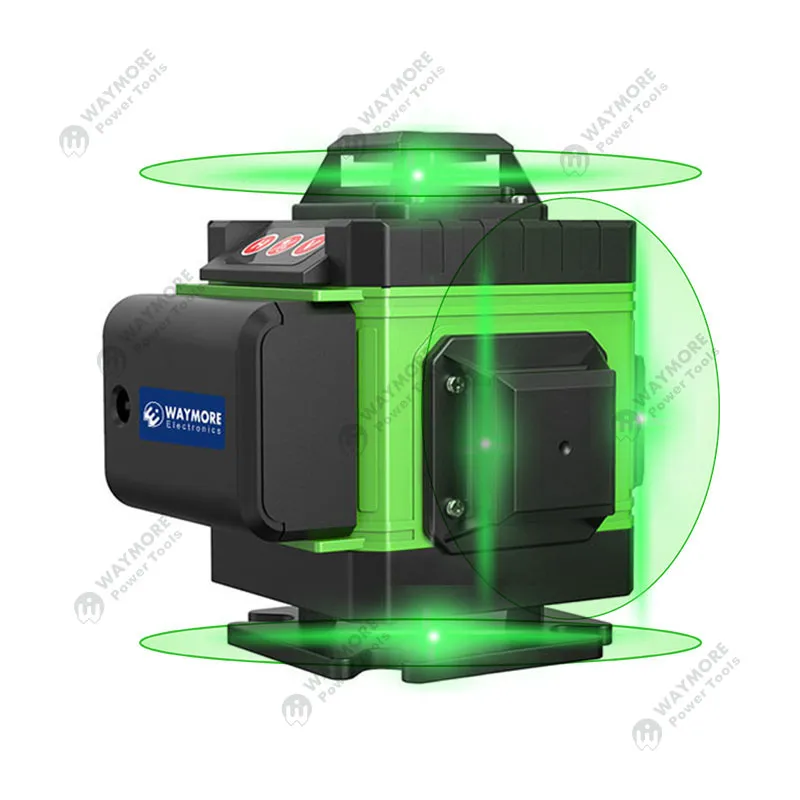
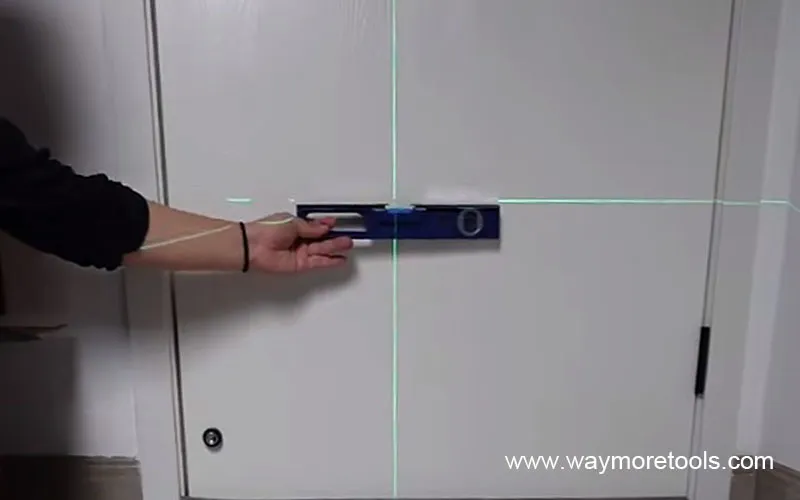
Laser levels work by projecting beams of light that create precise reference lines for leveling and alignment tasks. These sophisticated tools emit laser beams through a clear window from an internal pendulum-mounted laser, with magnets helping achieve self-leveling capabilities. Modern laser levels come in various types, each designed for specific applications. Line lasers project straight lines for indoor tasks like cabinet installation, while rotary lasers spin to create a 360-degree reference plane, ideal for larger construction projects.
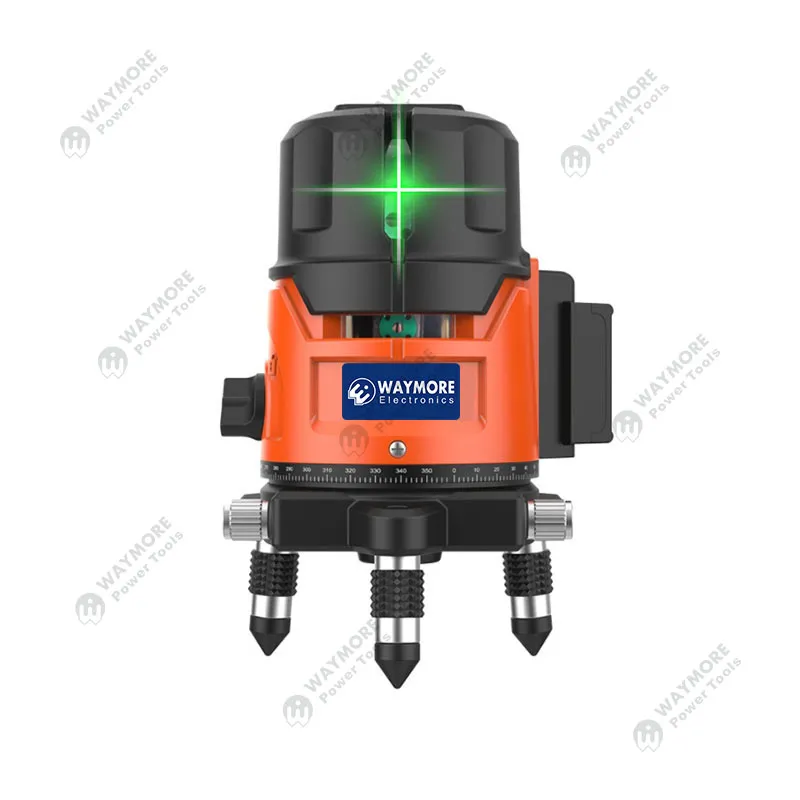
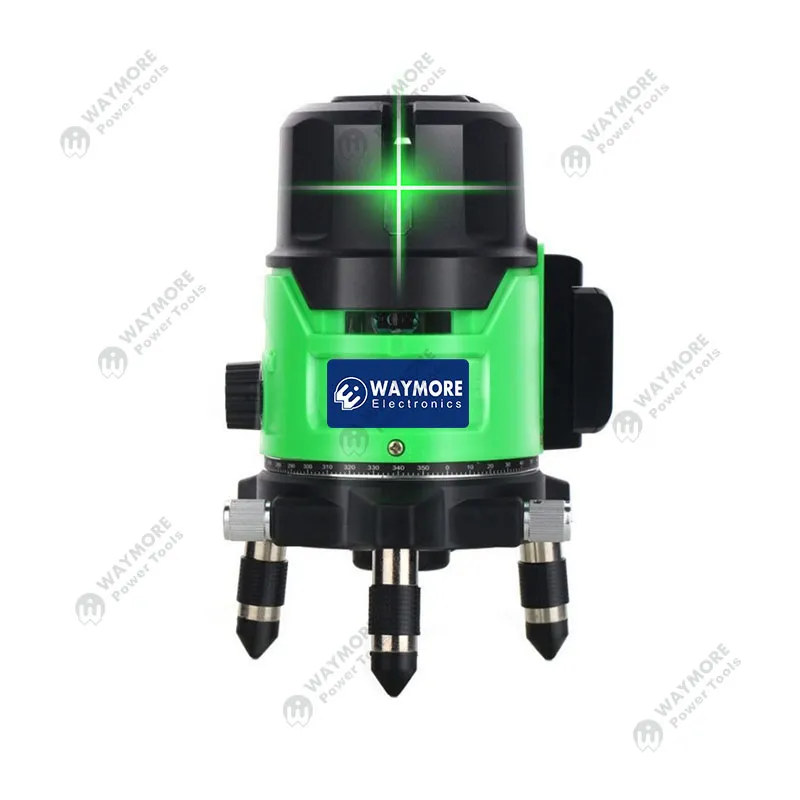
The most common types include line lasers, spot lasers, and rotary lasers. Line lasers excel in indoor applications, projecting vertical and horizontal lines for tasks like tiling and cabinet installation. Spot lasers emit precise points for plumbing and alignment work, while rotary lasers are perfect for outdoor construction and grading projects. Setting up these tools correctly is crucial for achieving the accuracy they're designed to deliver.
Common Setup Mistakes and Their Impact
One of the most frequent mistakes we encounter is attempting manual leveling without proper support. This approach often leads to inaccurate measurements and wasted time. Traditional manual hammering methods are not only time-consuming but also lack the precision needed for professional results.
Using level rulers as reference points can introduce parallax errors and other inaccuracies. When working with laser levels, the surface's condition and the environment can significantly impact accuracy. Uneven surfaces or improper mounting can lead to deviation in measurements, potentially causing costly mistakes in construction projects.
The financial implications of improper setup are substantial. Research indicates that rework in construction accounts for approximately 5% of total project costs, equivalent to over $65 billion annually in the United States alone. This emphasizes the importance of proper setup and equipment selection.
Professional Setup Methods and Best Practices
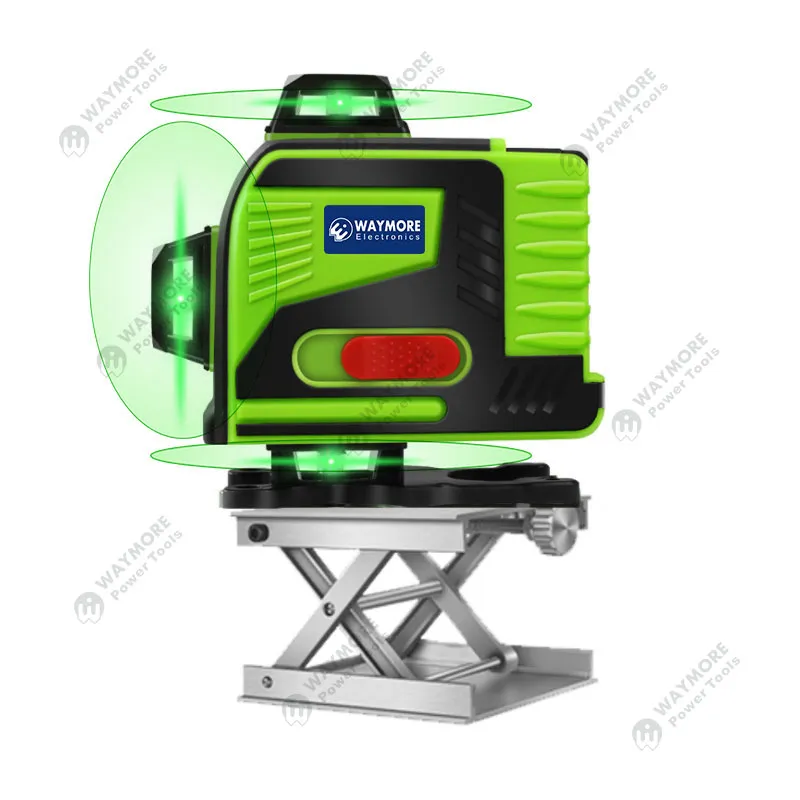
Professional setup begins with proper tripod selection and placement. The tripod should be positioned on the most stable surface available, with legs spread wide for maximum stability. For optimal results, the laser level should be mounted at chest height, typically 4-5 feet high when set up.
Height considerations vary depending on the application. When working on interior projects like cabinet installation, the laser level should be positioned above the highest point you need to measure. For exterior applications, consider factors like ground slope and potential obstructions.
Different projects require varying levels of accuracy. For example, interior finishing work typically demands accuracy within ⅛ inch at 30 feet, while exterior grading might allow for slightly larger tolerances. We recommend selecting equipment that exceeds the minimum accuracy requirements for your specific applications.
Choosing the Right Equipment for Different Projects
When selecting tripods, consider factors like weight capacity, height adjustability, and durability. Professional-grade tripods are typically constructed from aluminum or wood, with steel spikes for ground stability. For precise leveling work, look for tripods with fine adjustment capabilities and stable locking mechanisms.
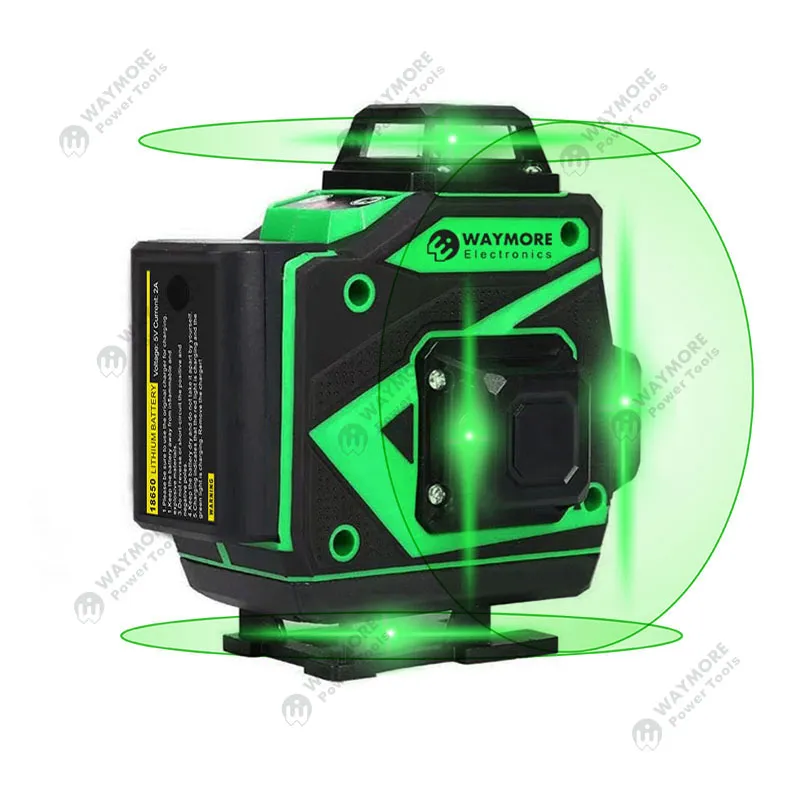
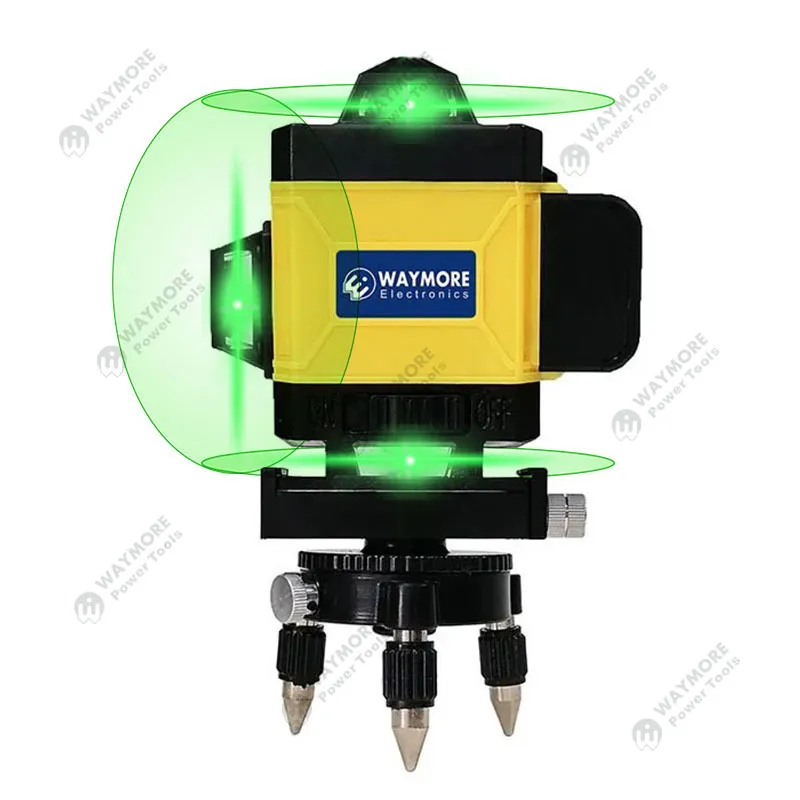
Different applications require specific laser level types. For indoor work, green beam lasers offer superior visibility, while red beam lasers provide longer battery life. Professional contractors should consider self-leveling models with multiple beam options, while DIY users might find simpler, manual models sufficient.
Wholesale Considerations for Distributors
For bulk purchasing, focus on versatile models that serve multiple applications. Consider factors like durability, warranty coverage, and after-sales support when selecting inventory. Popular models include self-leveling cross-line lasers for general construction and rotary lasers for outdoor applications.
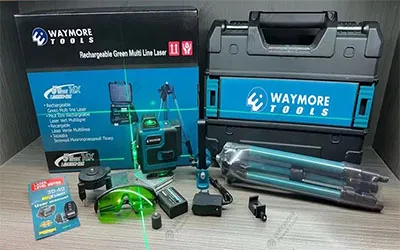
Package deals combining laser levels with tripods and accessories often provide better value for customers while increasing sale potential. Consider offering different bundles to meet varying customer needs and budget requirements.
Tips for Retailers and Store Owners
Stock a mix of professional and DIY-grade equipment to serve different market segments. Educate customers about proper setup procedures and maintenance requirements. Common customer questions often revolve around accuracy specifications, battery life, and outdoor visibility.
Create upselling opportunities by bundling complementary accessories like tripod adapters, targets, and carrying cases. Emphasize the value of professional-grade equipment for serious contractors while offering cost-effective solutions for occasional users.
To ensure long-term success in the laser level market, we encourage you to stay informed about the latest technological developments and maintain strong relationships with reliable manufacturers. Contact our team to learn more about our wholesale laser level solutions and how we can help grow your business in this dynamic industry.
As our company continues to participate in this grand event, we remain committed to offering the best power tools and machinery solutions to meet the needs of our global partners. Whether you are a wholesaler, importer, or distributor, we are ready to collaborate and support your business growth.
If you are interested in our Power Tools, welcome to contact with us, and we are here to offer you best service and great products, thank you!
Contact: Daniel
Email: daniel@waymoretools.com
Website: www.waymoretools.com