Summary
This article explains the differences between a drill and an impact driver, helping DIY enthusiasts decide which tool to invest in for various tasks.
Highlights
🔧 Tool Functions: Drills are versatile for various tasks, while impact drivers excel in driving screws with high torque.
⚙️ Torque Control: Drills have adjustable torque settings, preventing over-tightening of screws.
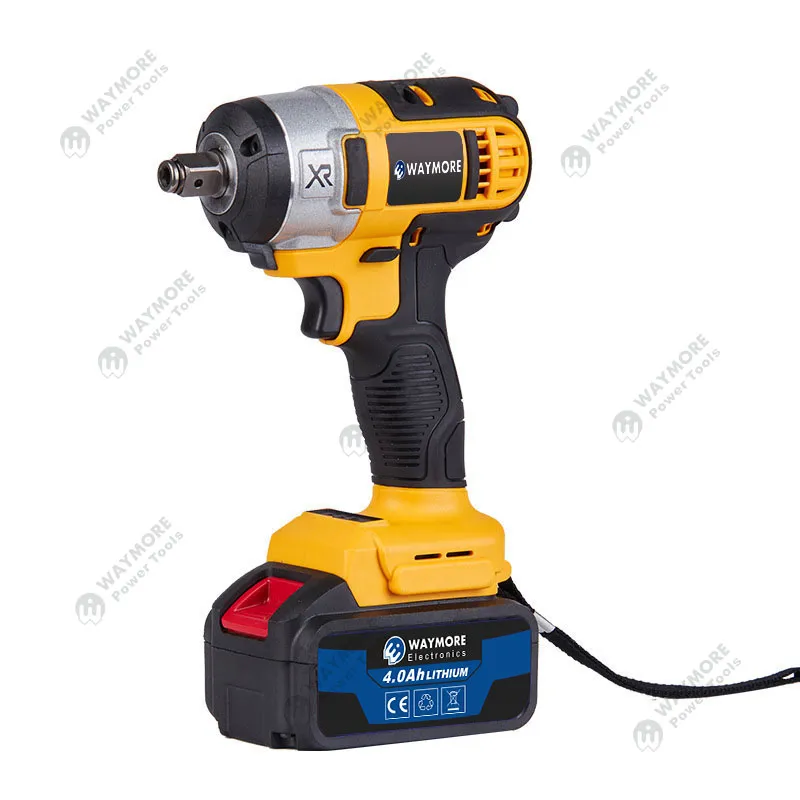
💡 Lightweight Design: Impact drivers are lightweight and powerful, ideal for long-term use and heavy-duty tasks.
🔩 Hammer Functionality: Hammer drills can tackle masonry work, providing extra power for tough materials.
🎯 Ease of Use: Impact drivers are easier for driving screws, while drills offer more precision for delicate tasks.
📏 Versatility: Both tools have their unique strengths, making them valuable for different home projects.
🛠️ Investment Advice: For frequent DIY projects, investing in both tools is recommended.
Key Insights
🔍 Understanding Tool Use: Knowing when to use a drill versus an impact driver is crucial for efficiency in DIY projects. Each tool serves specific functions that cater to different needs.
📊 Torque Settings Advantage: The adjustable torque of drills allows users to control how tight screws are driven, minimizing the risk of damage to materials, especially in sensitive applications like cabinetry.
⚡ Power and Performance: Impact drivers deliver sustained power, making them suitable for driving long screws and working with dense materials without bogging down.
🏗️ Masonry Applications: Hammer drills are essential for masonry work, as they combine rotational drilling with hammering action, making it easier to penetrate hard surfaces like concrete.
⚙️ User Experience: Lightweight tools reduce fatigue during extended use, making impact drivers more appealing for repetitive tasks. This aspect is important for DIYers who value comfort.
💰 Cost-Effective Choices: Weighing the benefits of each tool against budget constraints can guide users in making smart purchases that align with their project needs.
🔄 Learning Curve: Familiarizing oneself with the specific functions and settings of each tool enhances overall effectiveness, encouraging safer and more efficient DIY practices.
Summary
This article explains the differences between a drill and an impact driver, helping DIY enthusiasts decide which tool to invest in for various tasks.
Table of Contents
1. Highlights
- 🔧 Tool Functions: Drills are versatile for various tasks, while impact drivers excel in driving screws with high torque.
- ⚙️ Torque Control: Drills have adjustable torque settings, preventing over-tightening of screws.
- 💡 Lightweight Design: Impact drivers are lightweight and powerful, ideal for long-term use and heavy-duty tasks.
- 🔩 Hammer Functionality: Hammer drills can tackle masonry work, providing extra power for tough materials.
- 🎯 Ease of Use: Impact drivers are easier for driving screws, while drills offer more precision for delicate tasks.
- 📏 Versatility: Both tools have their unique strengths, making them valuable for different home projects.
- 🛠️ Investment Advice: For frequent DIY projects, investing in both tools is recommended.
2. Key Insights
- 🔍 Understanding Tool Use: Knowing when to use a drill versus an impact driver is crucial for efficiency in DIY projects. Each tool serves specific functions that cater to different needs.
- 📊 Torque Settings Advantage: The adjustable torque of drills allows users to control how tight screws are driven, minimizing the risk of damage to materials, especially in sensitive applications like cabinetry.
- ⚡ Power and Performance: Impact drivers deliver sustained power, making them suitable for driving long screws and working with dense materials without bogging down.
- 🏗️ Masonry Applications: Hammer drills are essential for masonry work, as they combine rotational drilling with hammering action, making it easier to penetrate hard surfaces like concrete.
- ⚙️ User Experience: Lightweight tools reduce fatigue during extended use, making impact drivers more appealing for repetitive tasks. This aspect is important for DIYers who value comfort.
- 💰 Cost-Effective Choices: Weighing the benefits of each tool against budget constraints can guide users in making smart purchases that align with their project needs.
- 🔄 Learning Curve: Familiarizing oneself with the specific functions and settings of each tool enhances overall effectiveness, encouraging safer and more efficient DIY practices.
3. Drill vs Impact Driver: The Basics
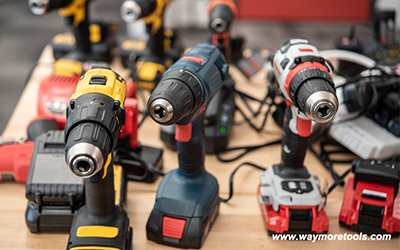
Today’s article is all about discussing the difference between a drill and an impact driver. If you're new to the DIY community and just starting to accumulate tools, you will quickly realize you need both a drill and an impact driver. But the question remains: do you need both tools, or should you just invest in one?
We’ll also demonstrate how to use these tools to install subfloor panels into your concrete basement floor, which will be helpful for many of you.
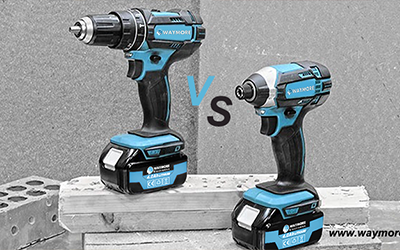
Let's jump into the basics of these tools. The impact driver delivers high torque in bursts, especially when encountering resistance, making it ideal for driving long screws through tough materials. On the other hand, drills have adjustable torque and precision control, making them more suitable for delicate applications like cabinetry.
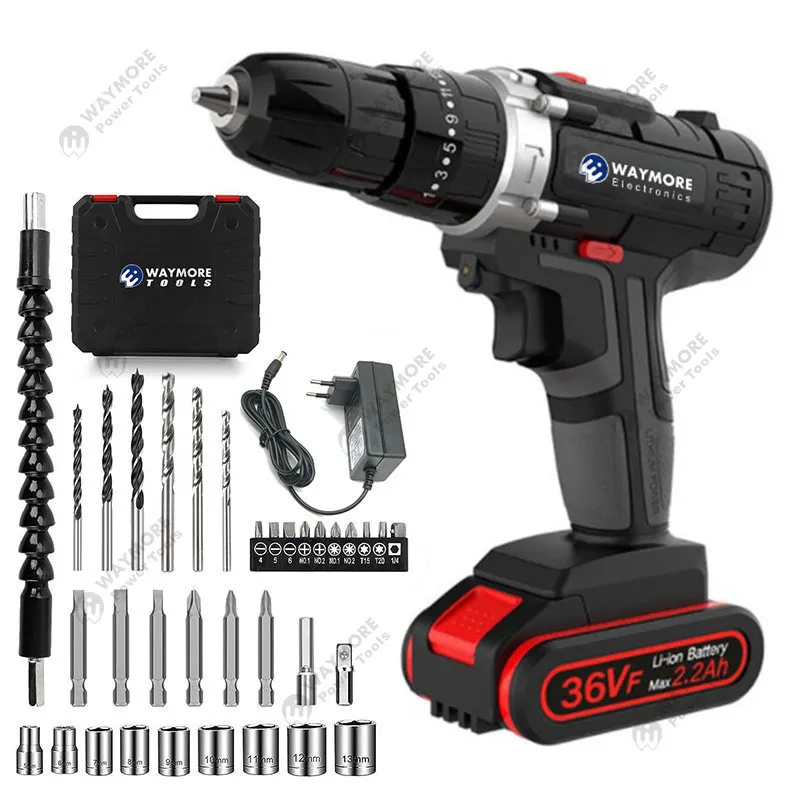
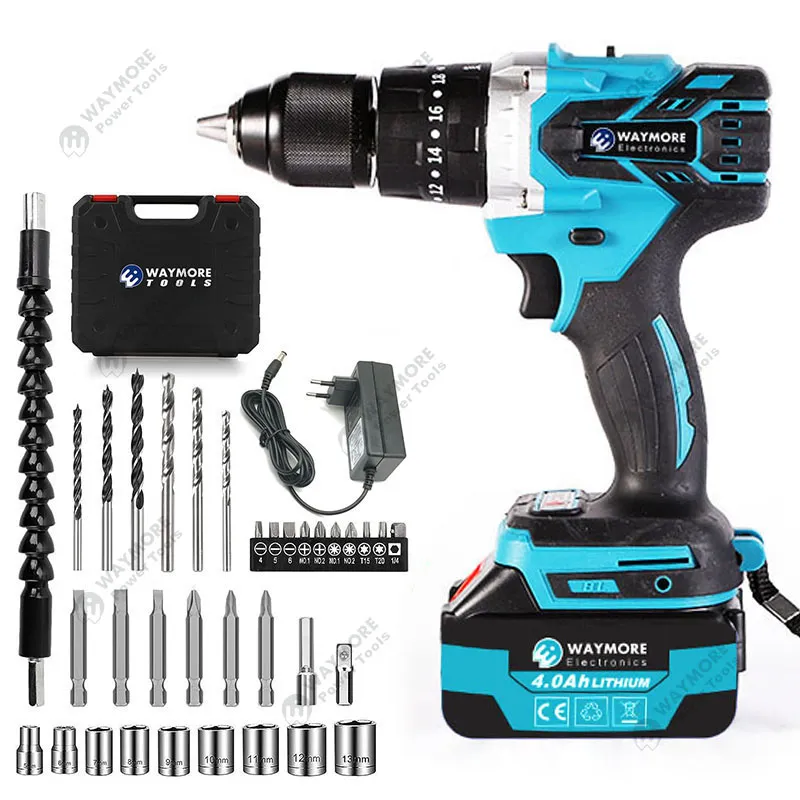
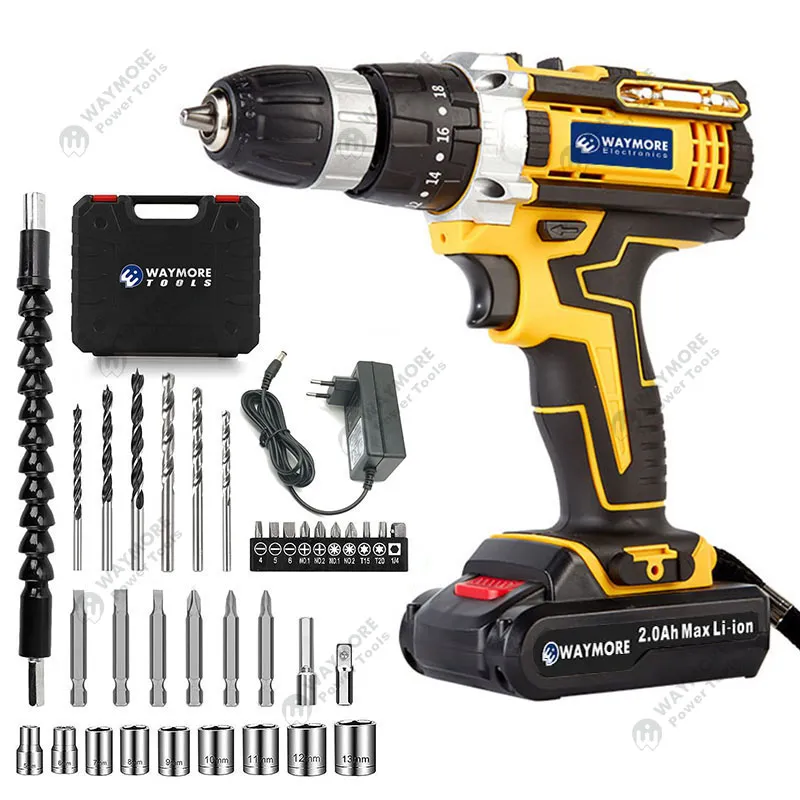
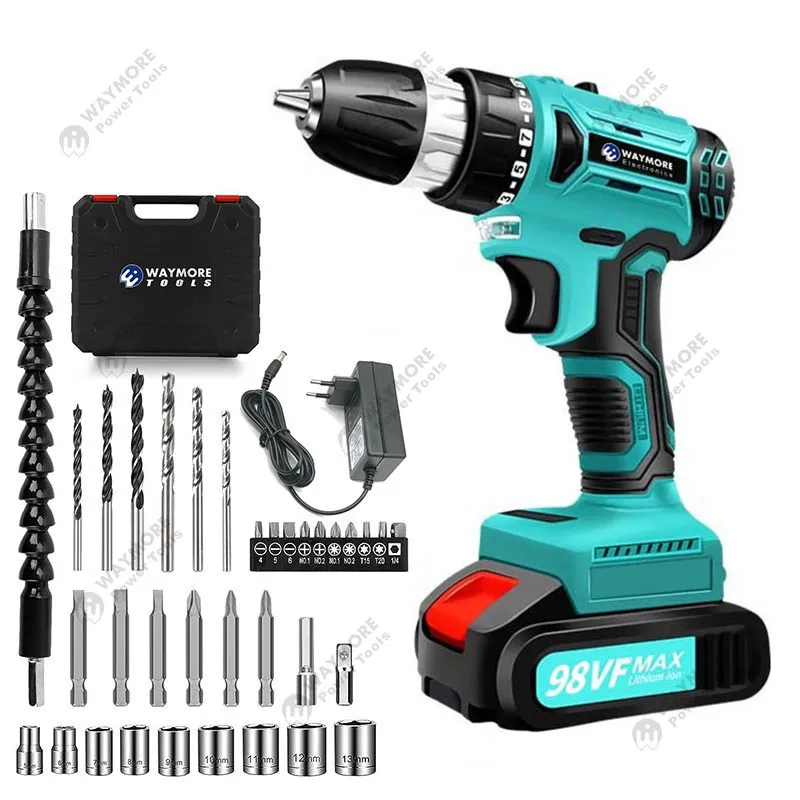
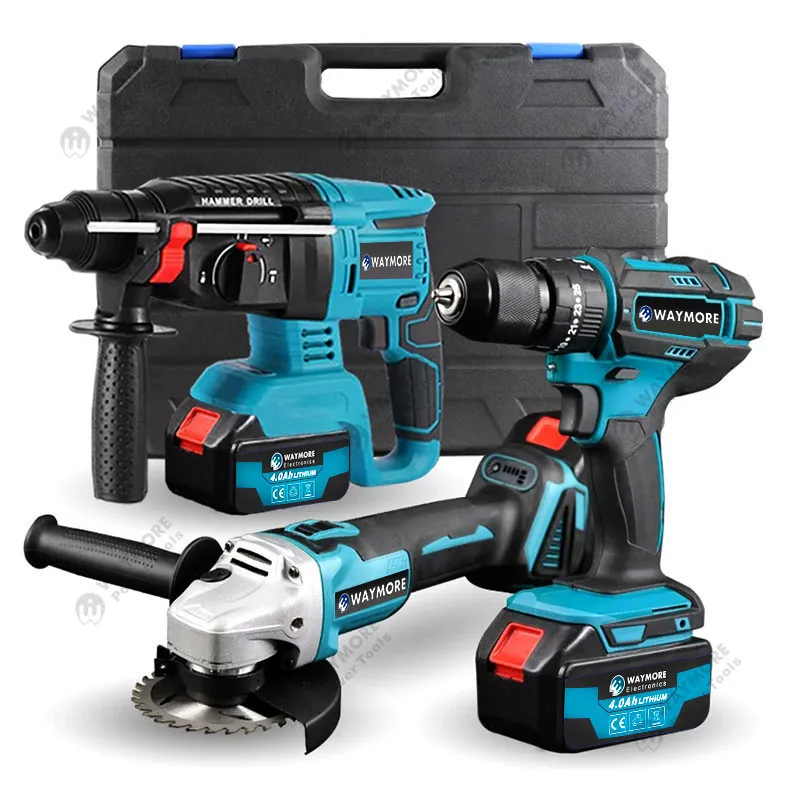
4. Drill and Impact Driver Features
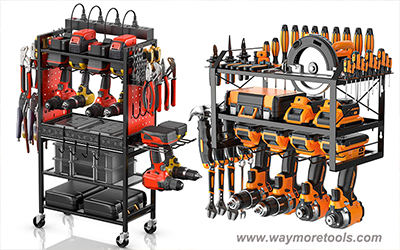
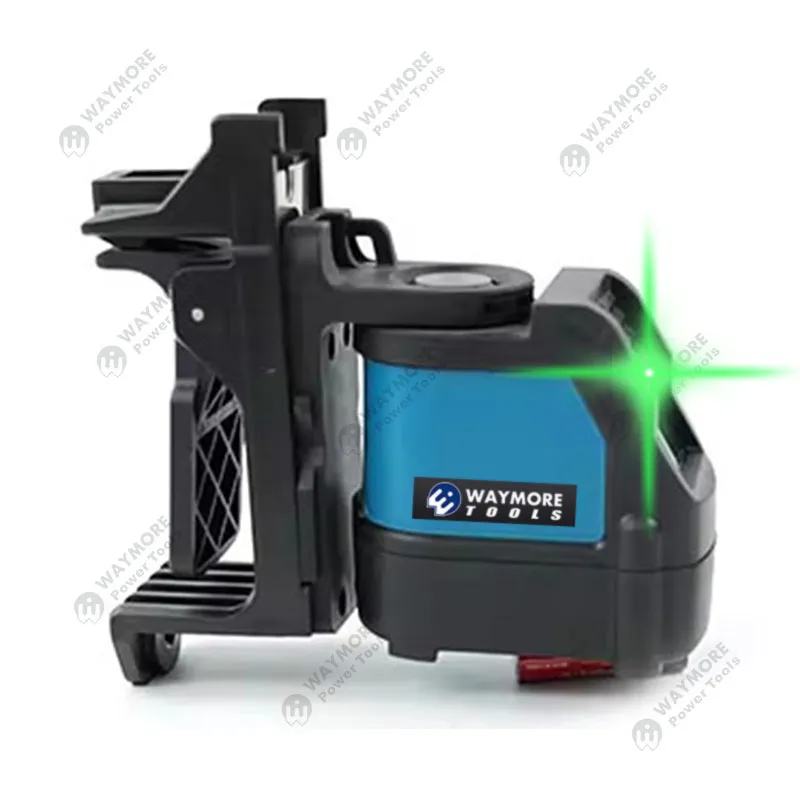
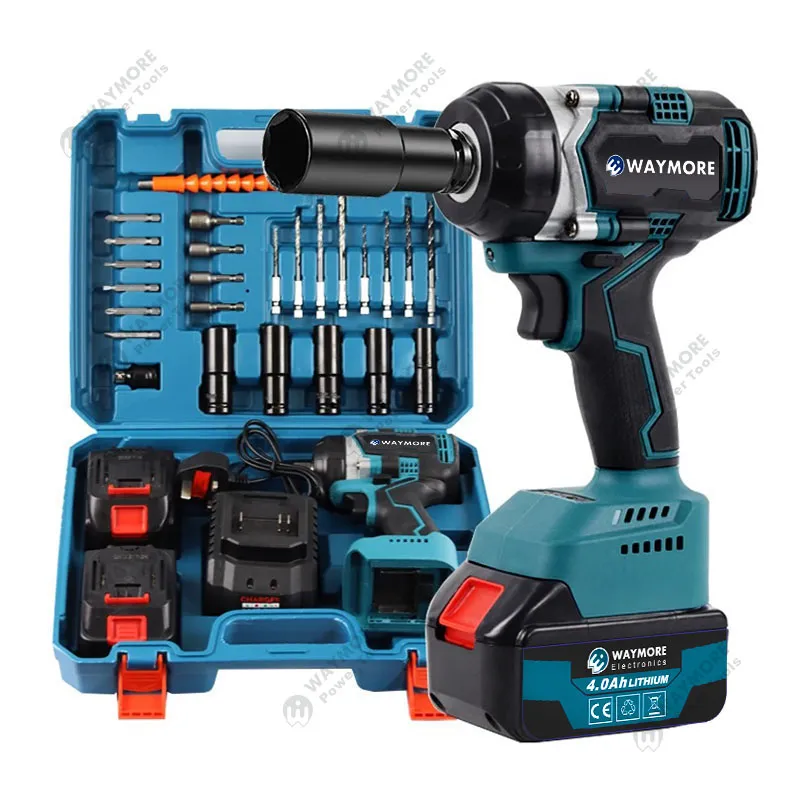
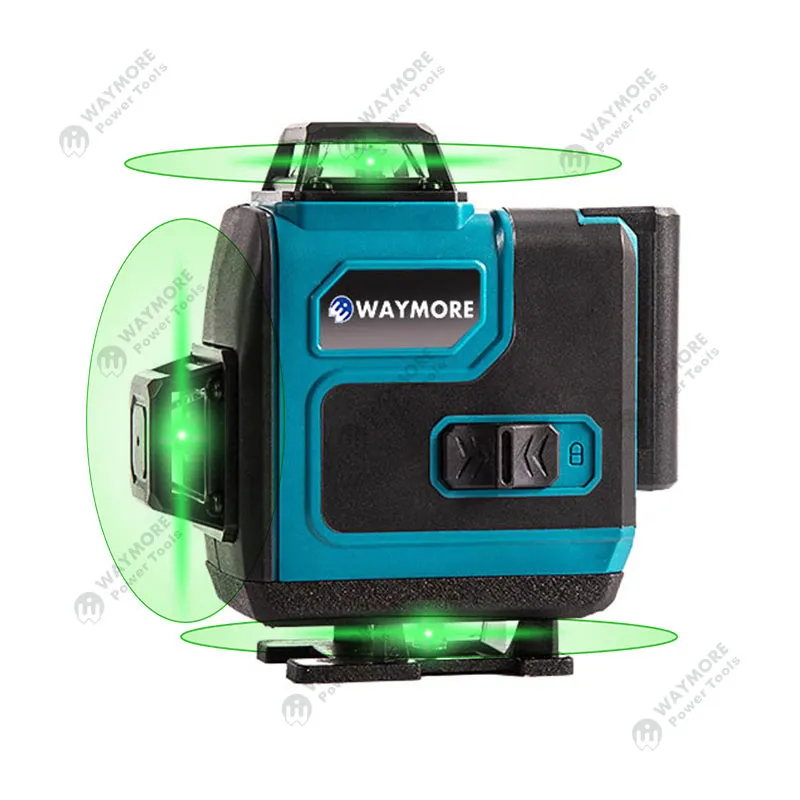
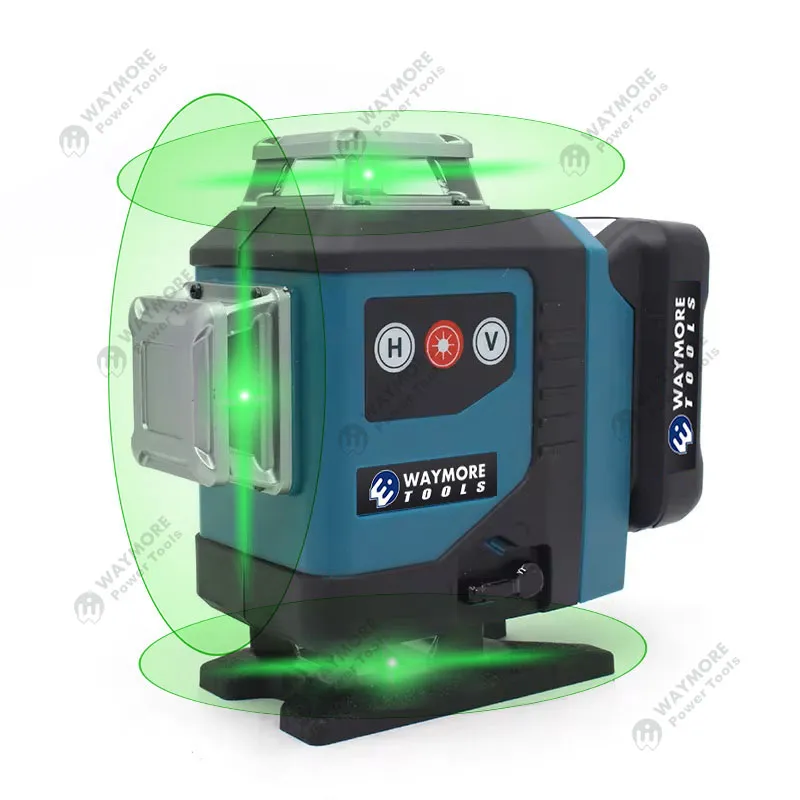
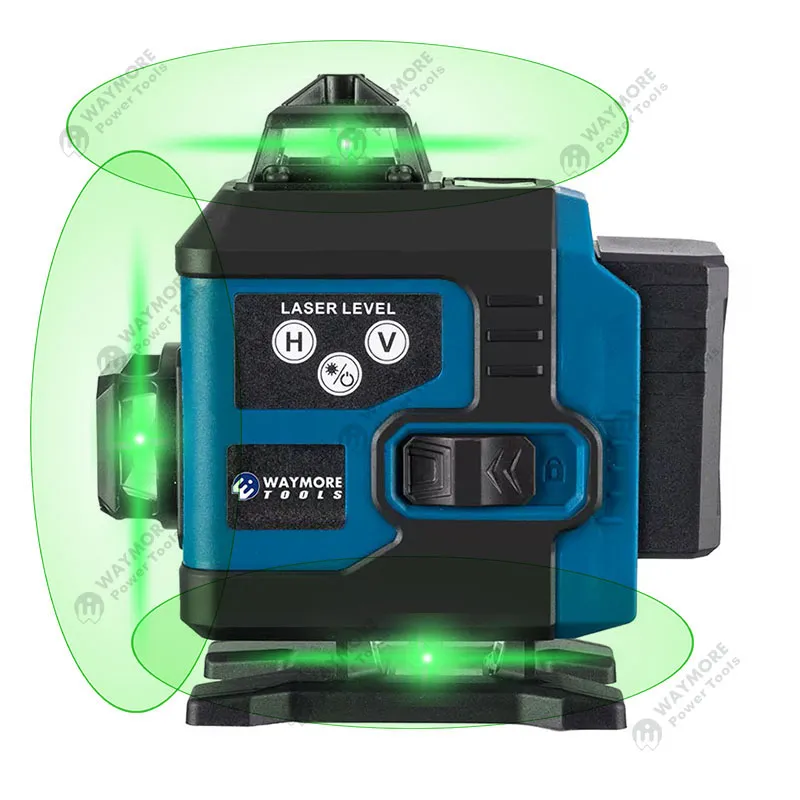
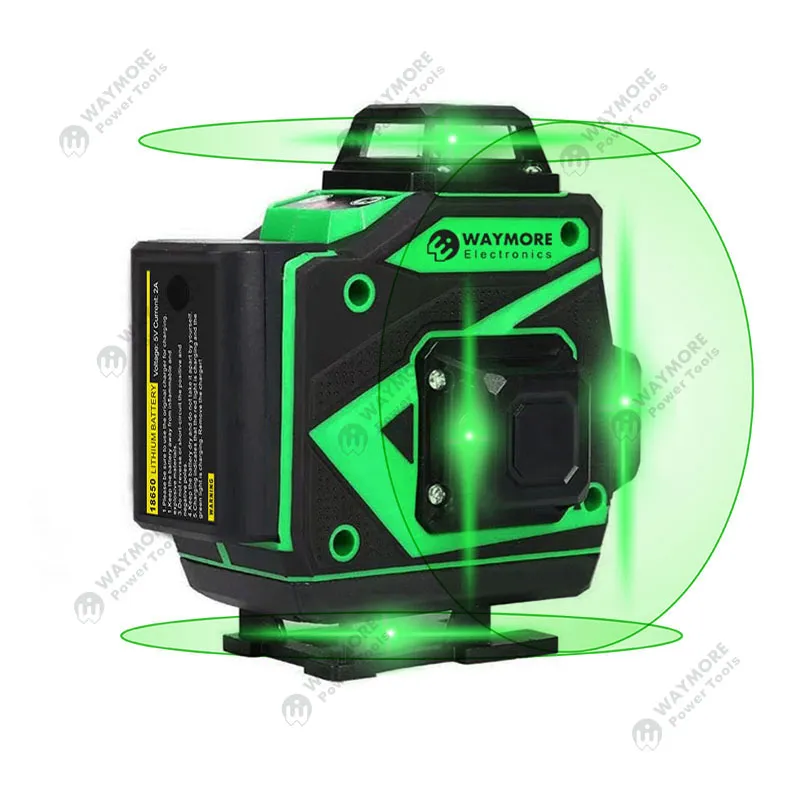
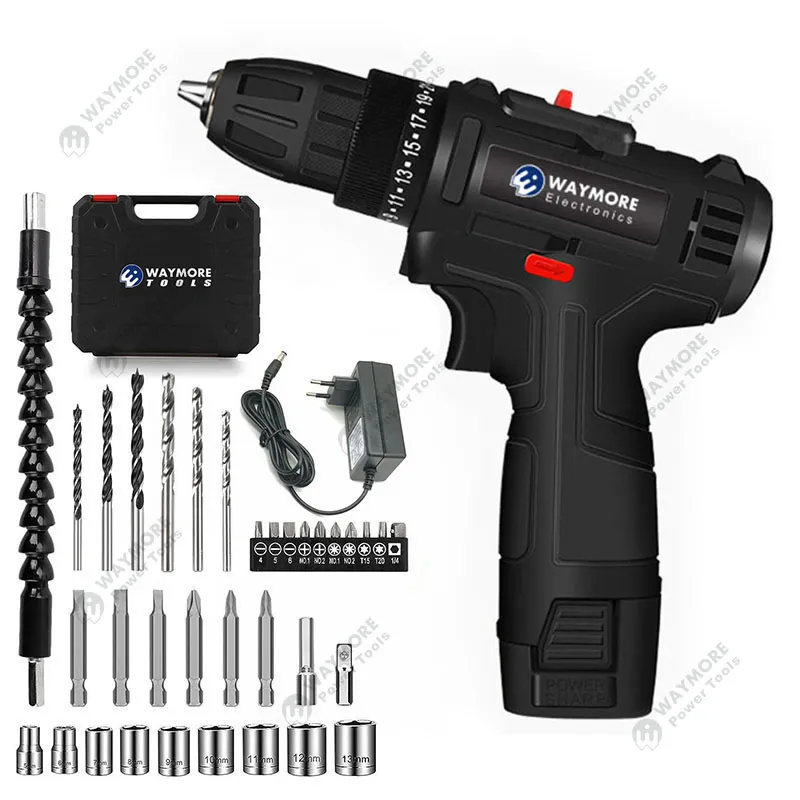
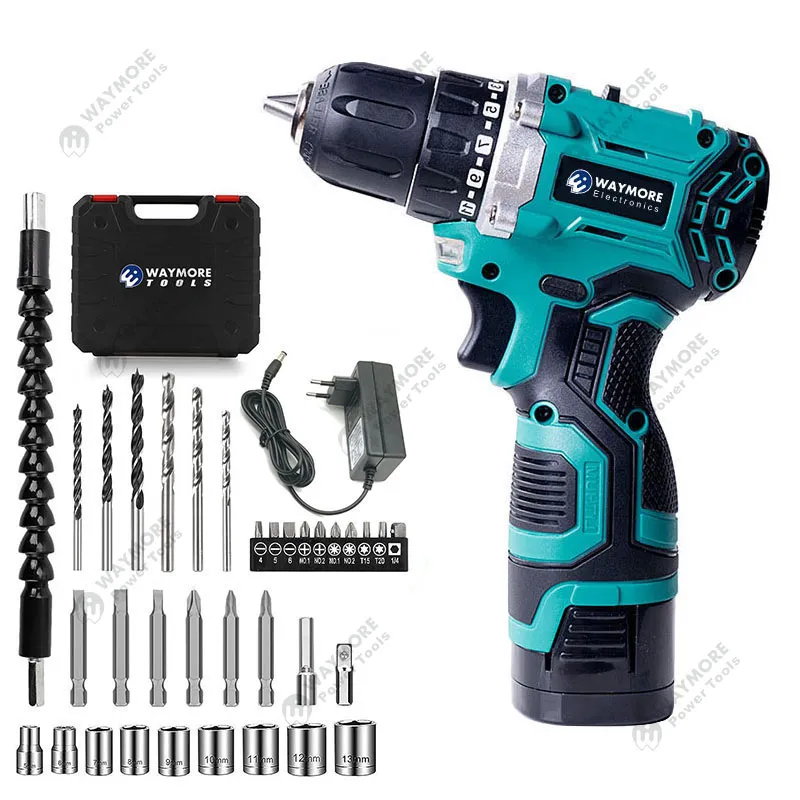
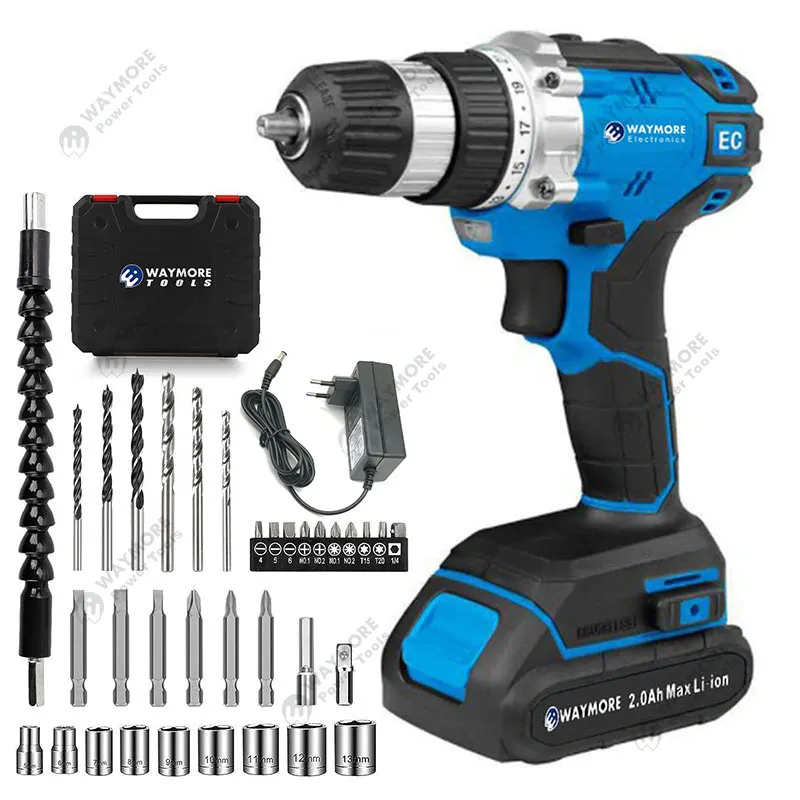
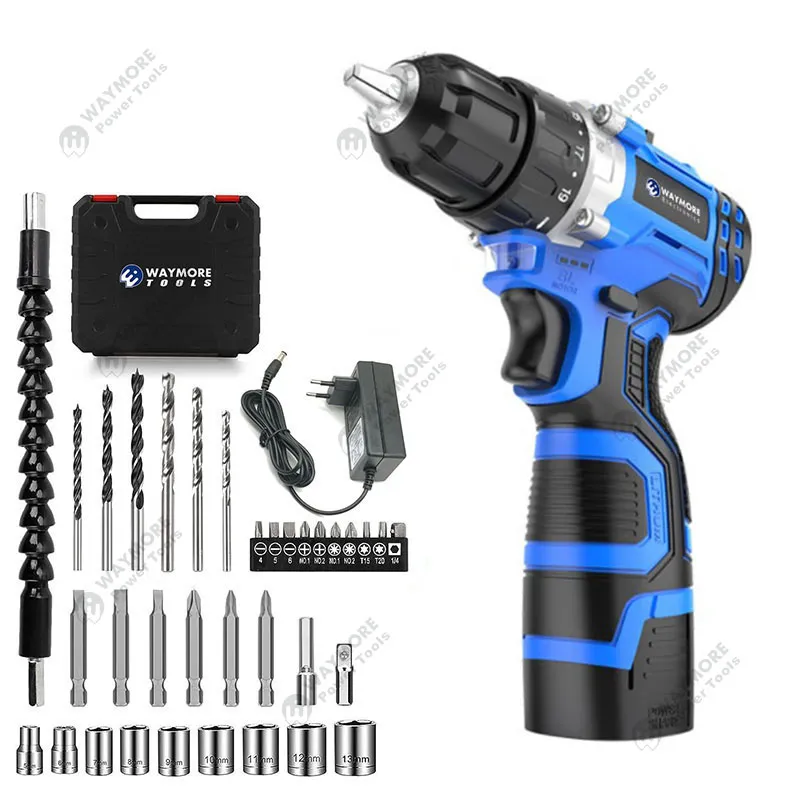
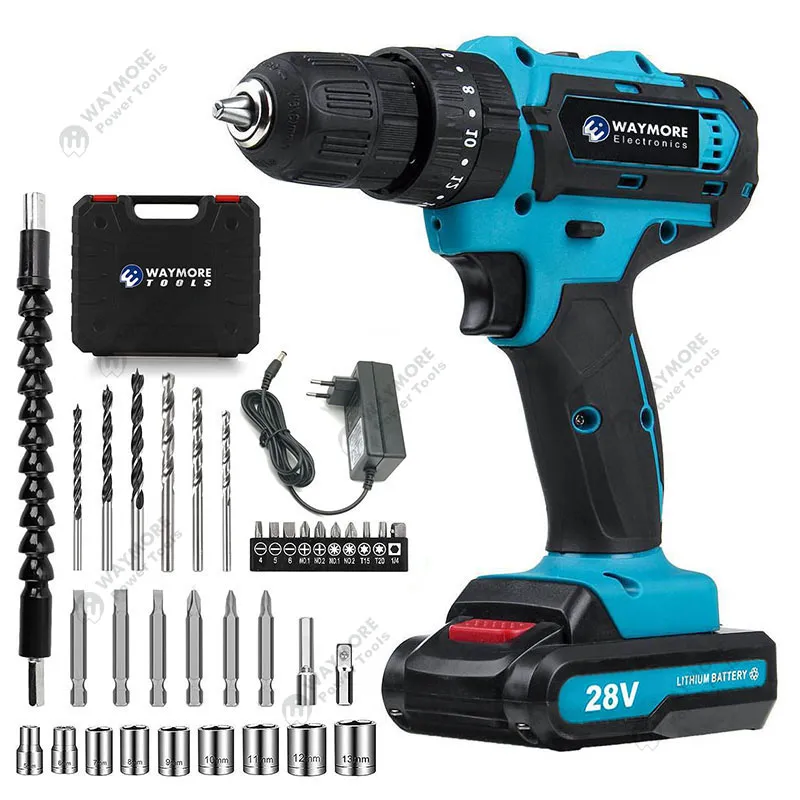
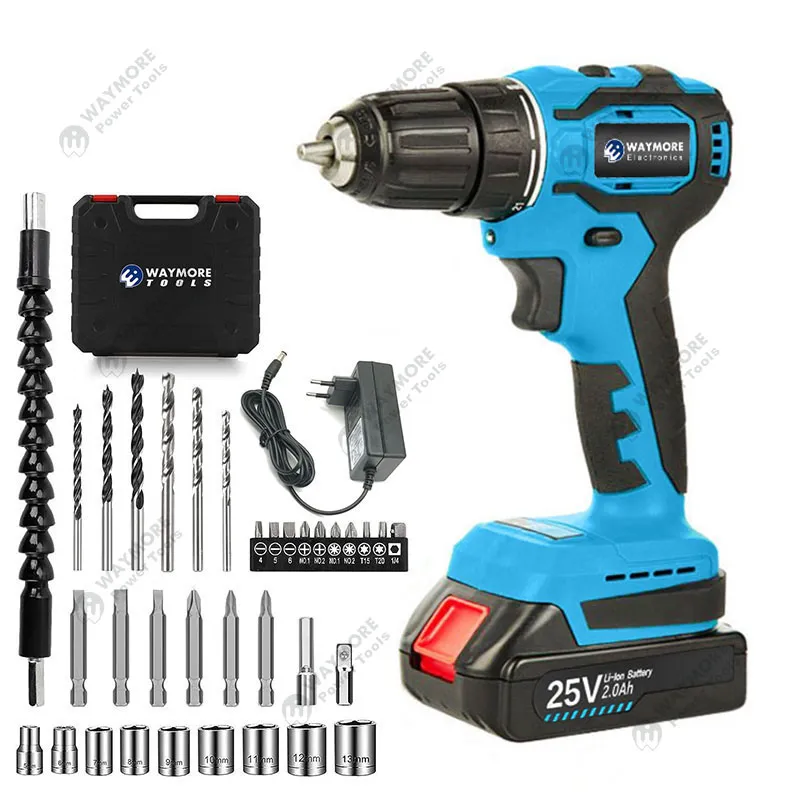
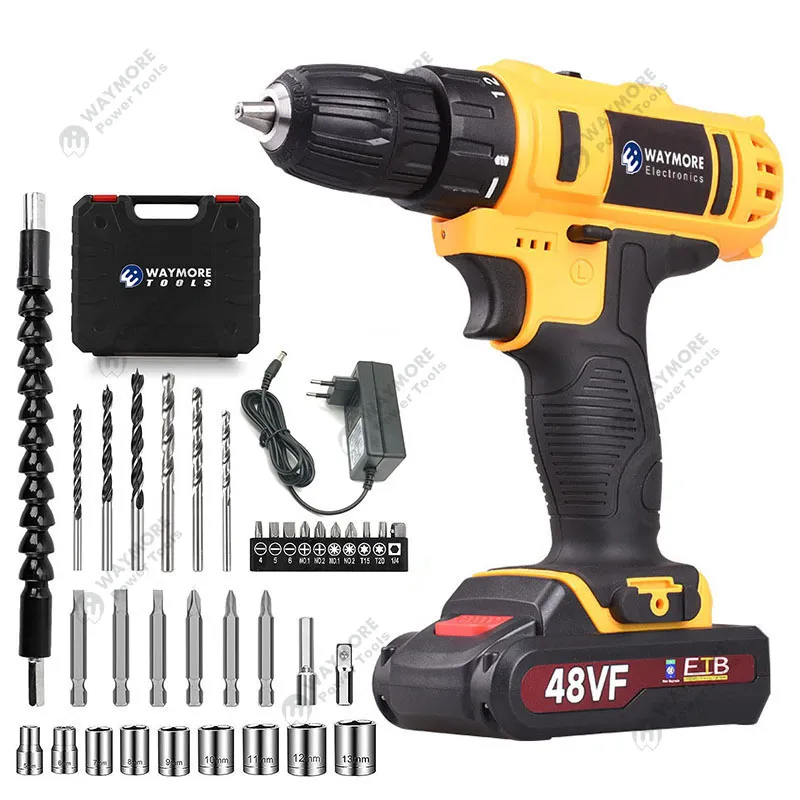
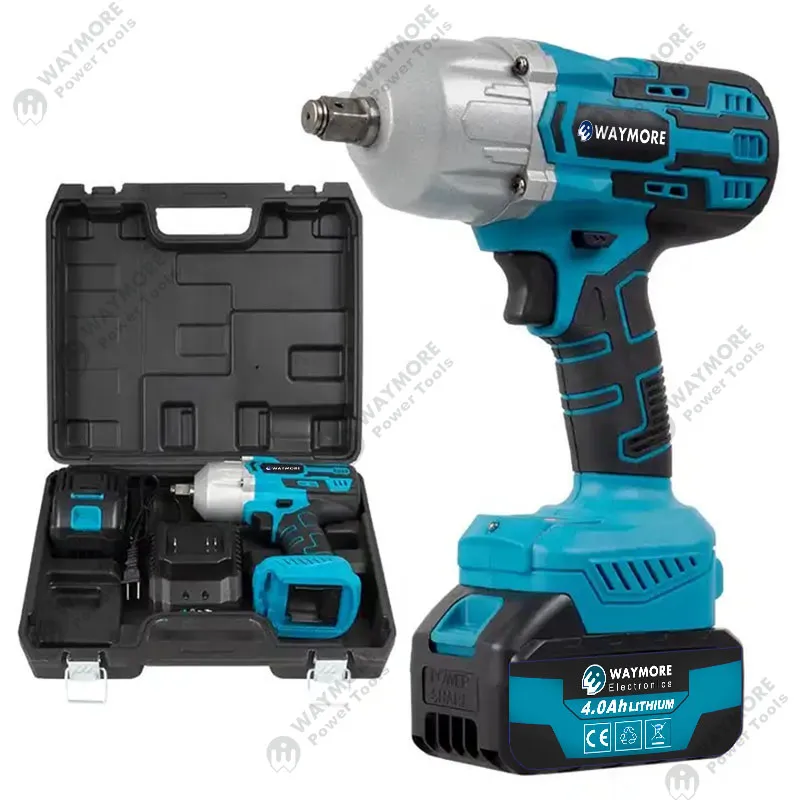
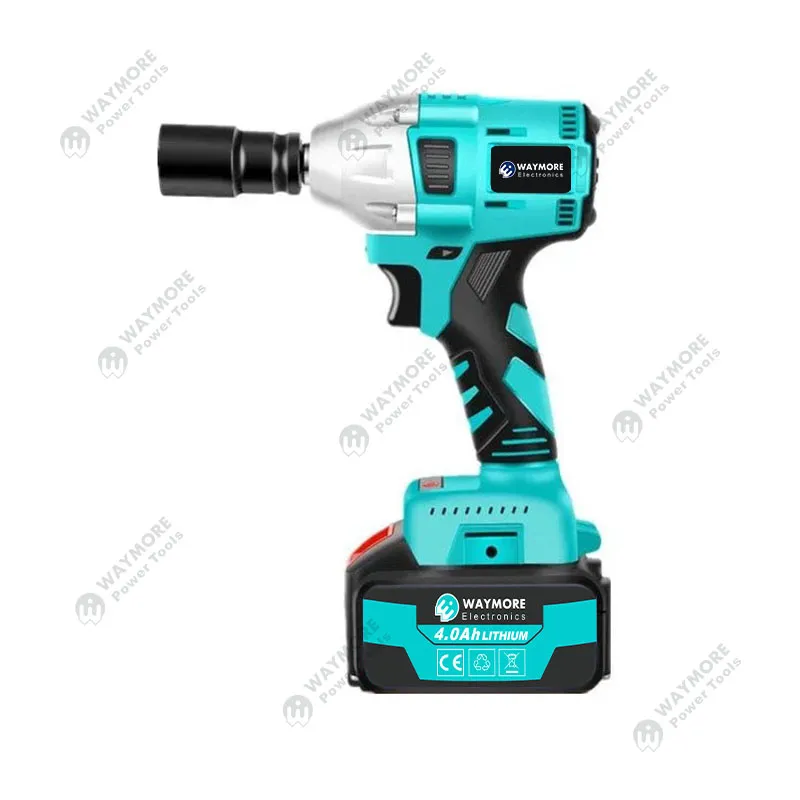
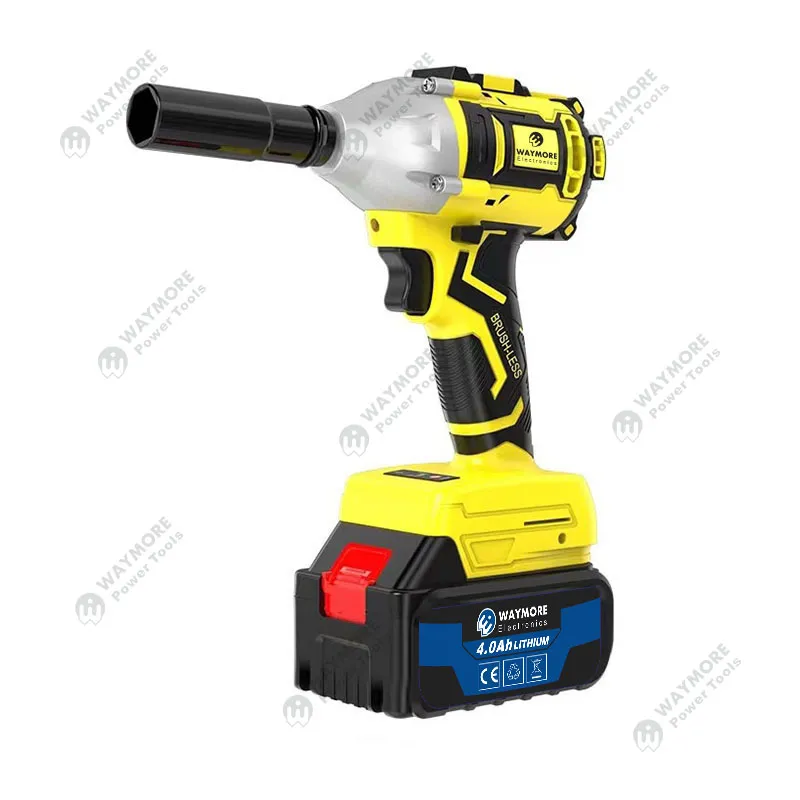
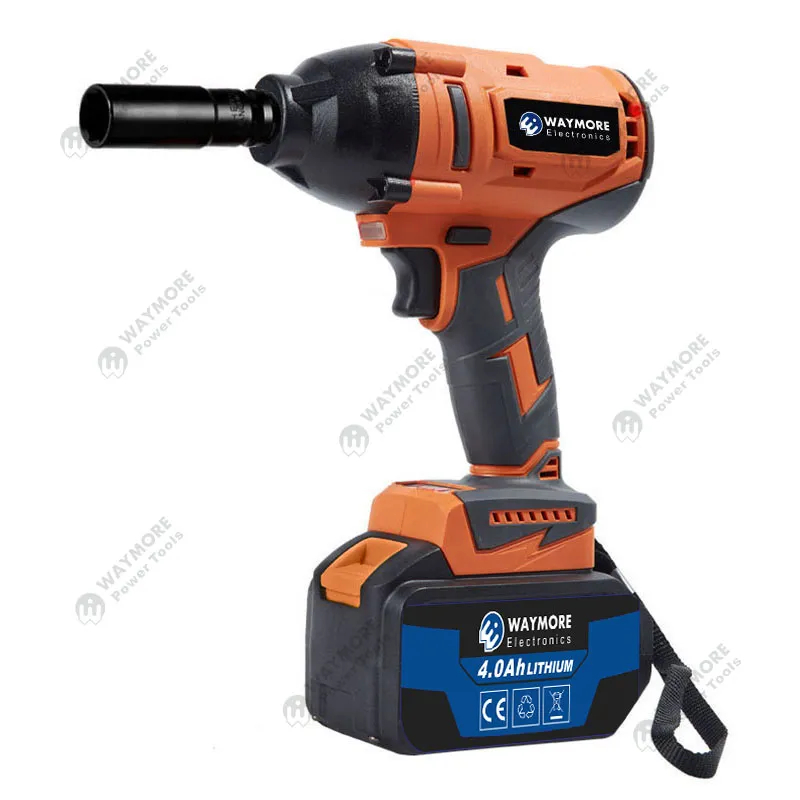
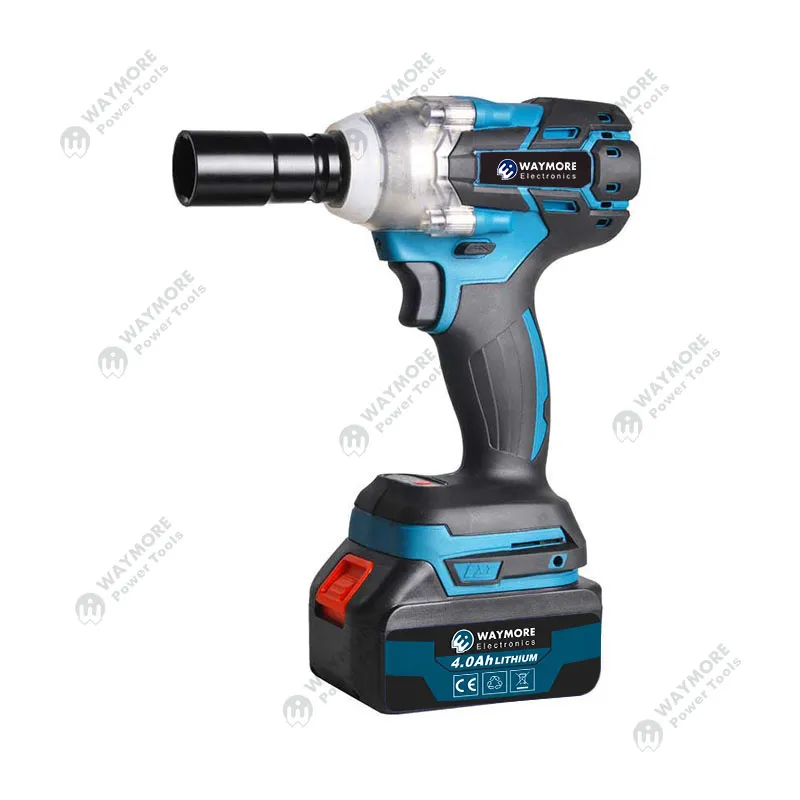
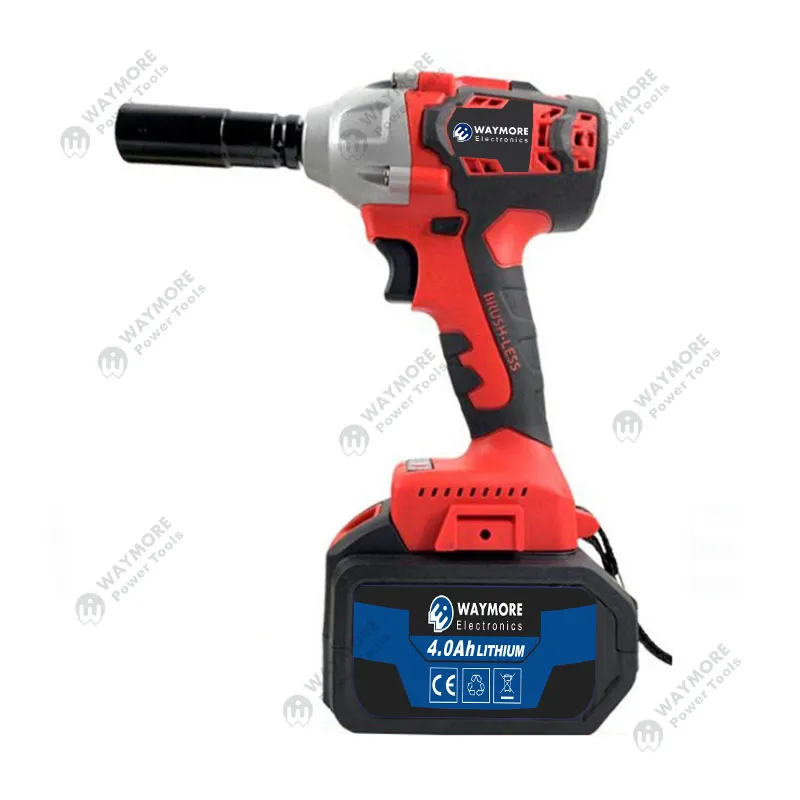
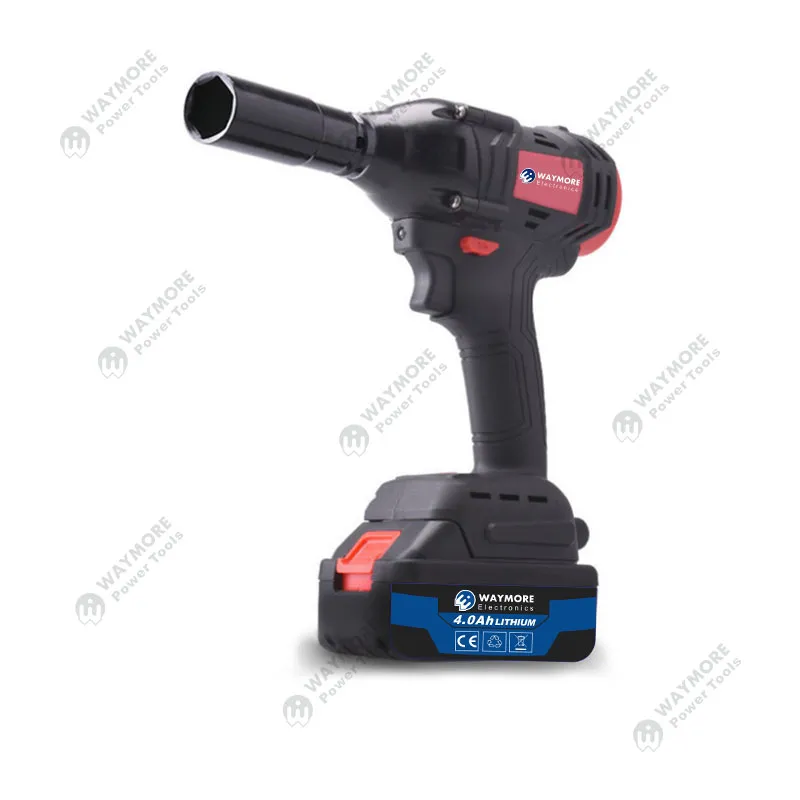
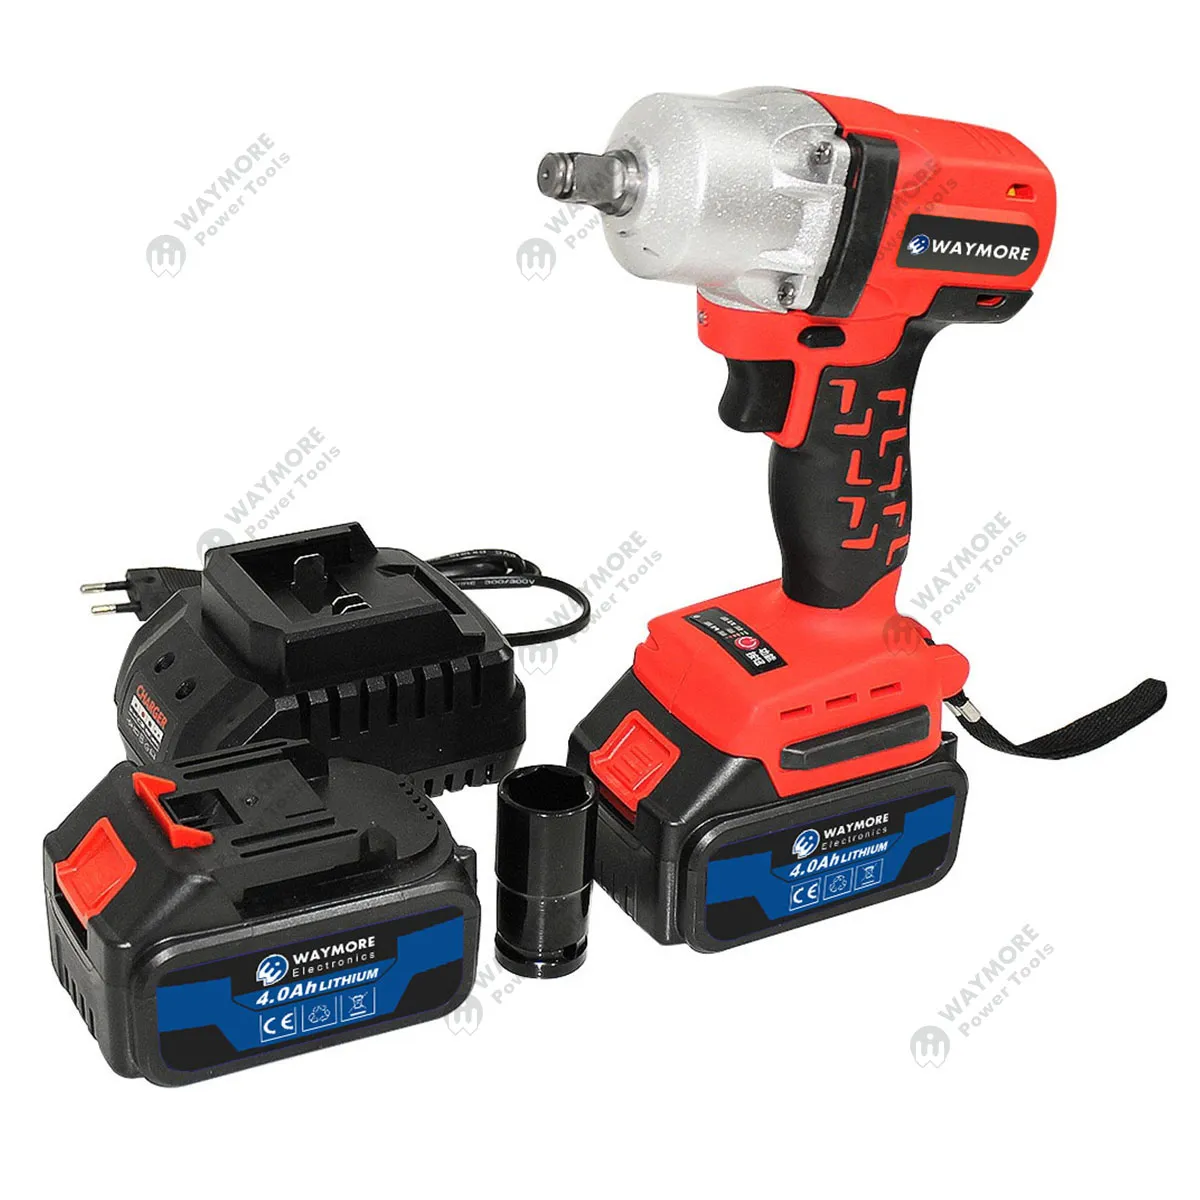
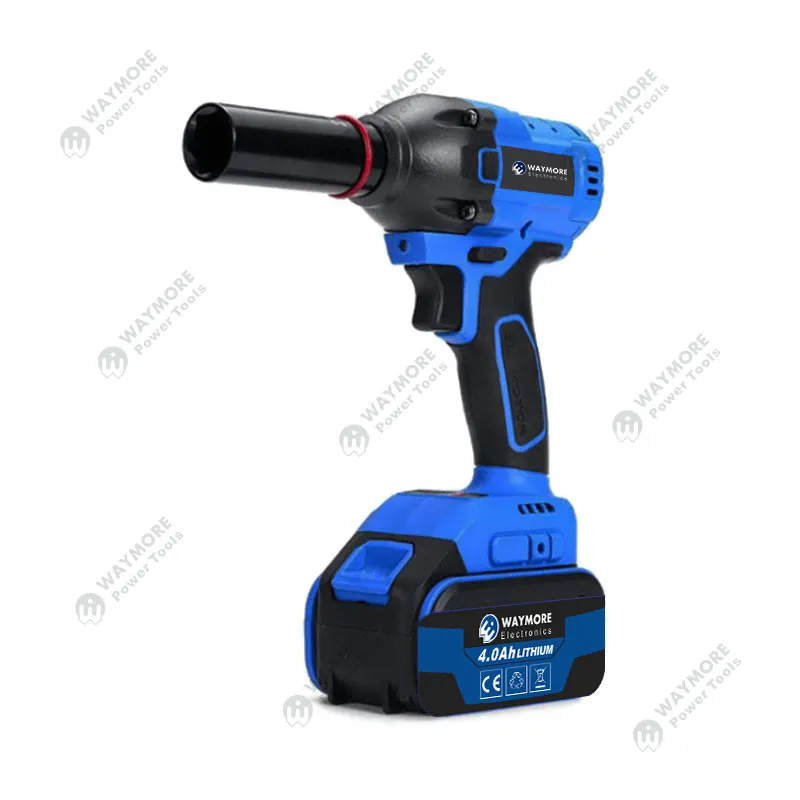
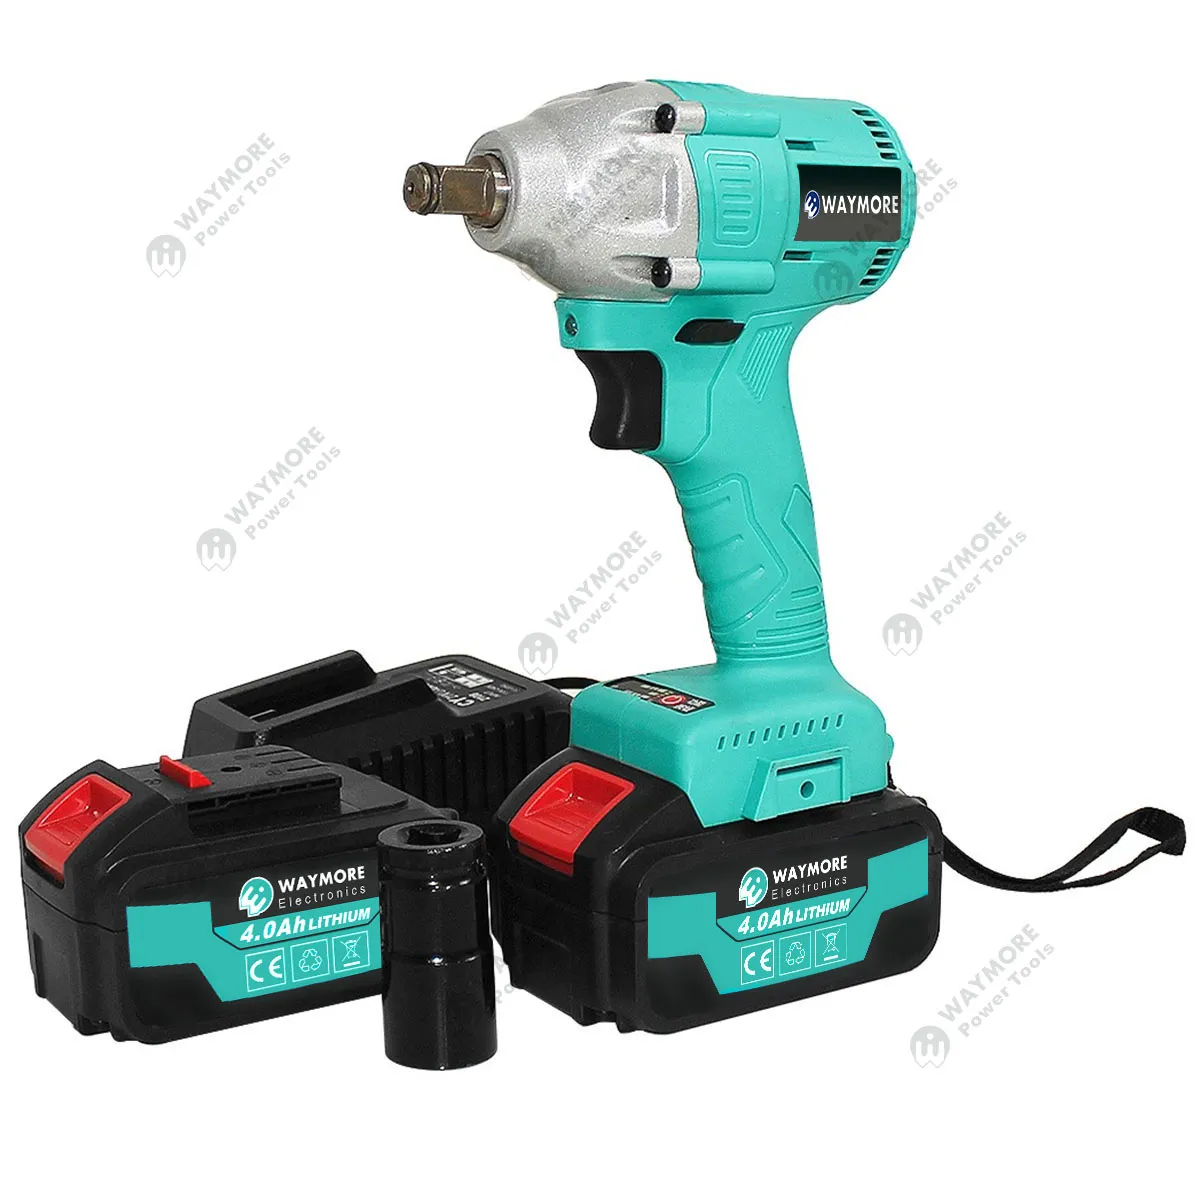
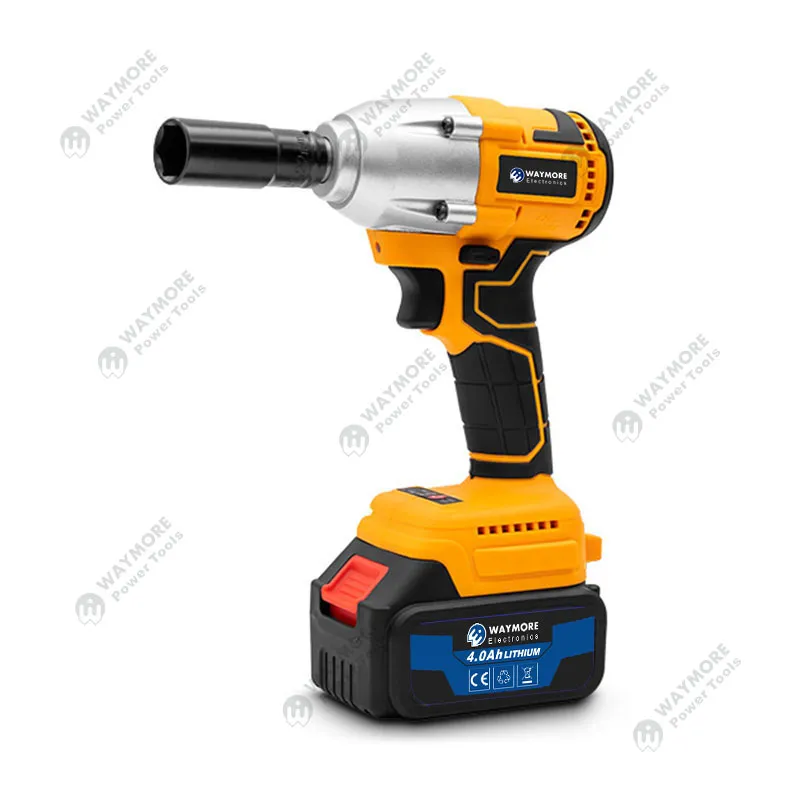
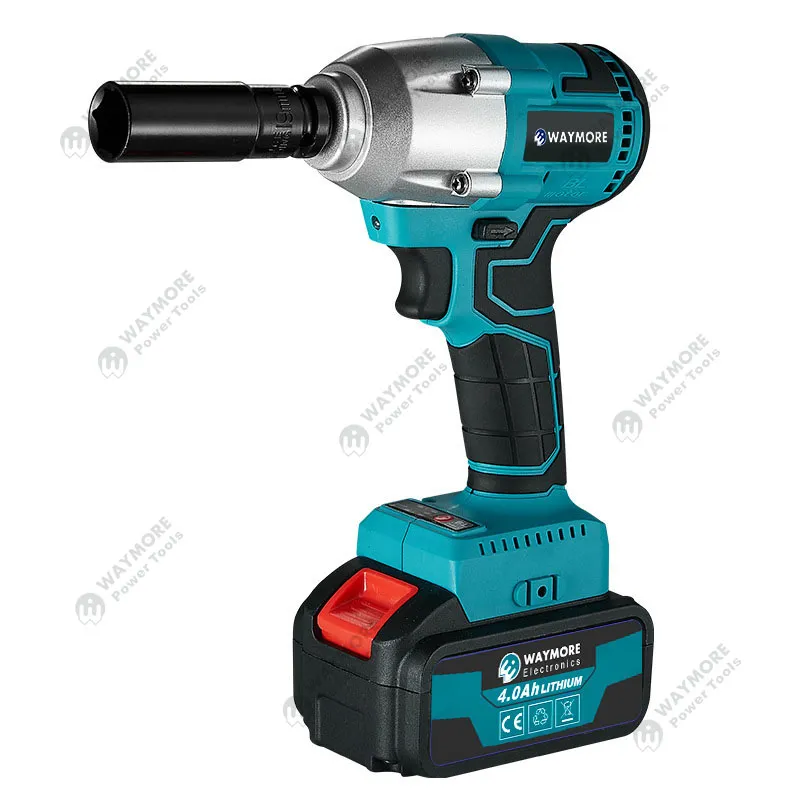
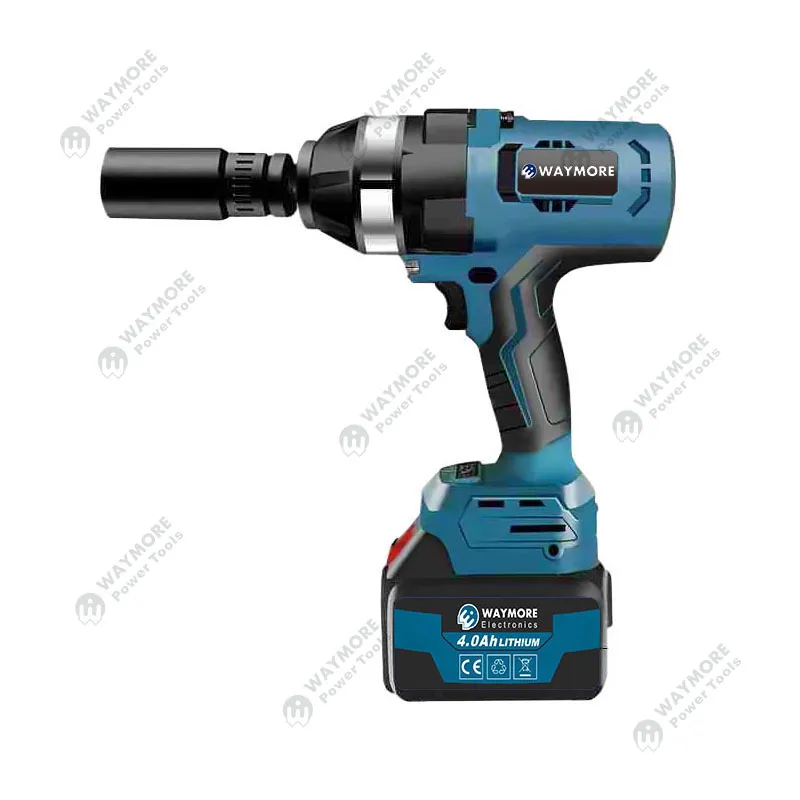
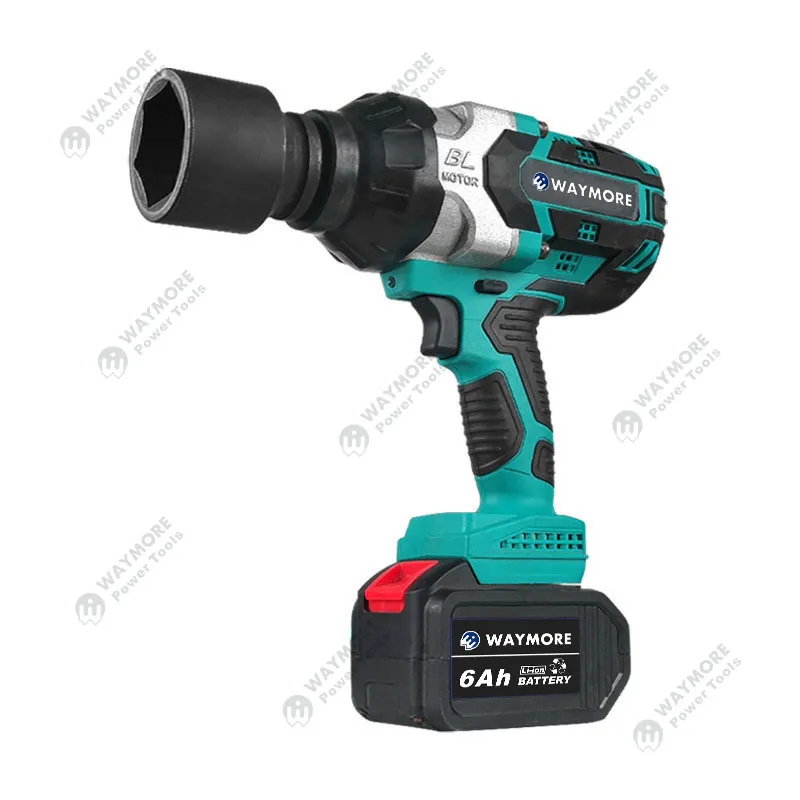
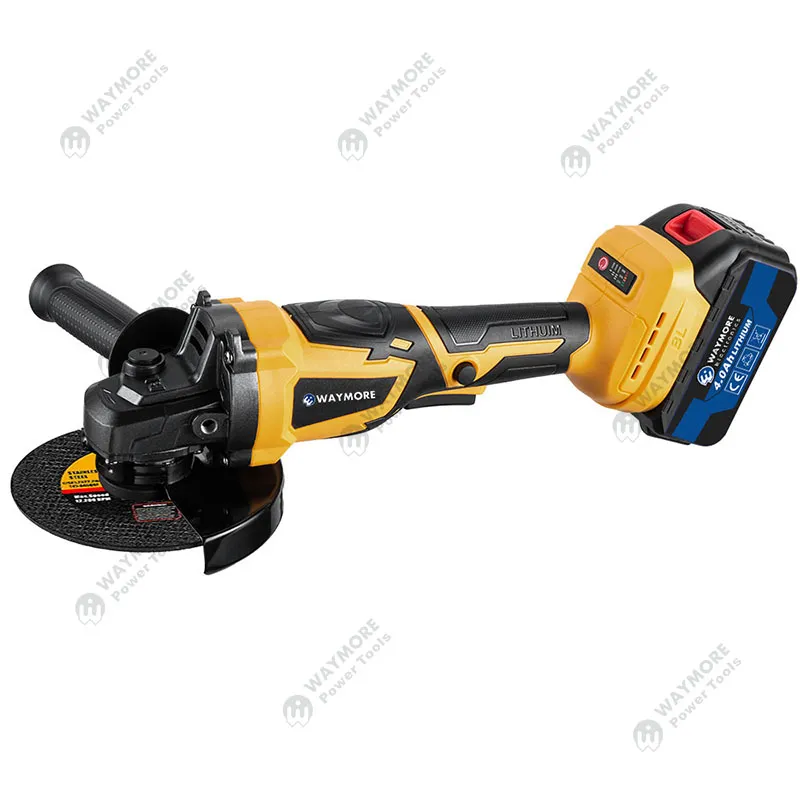
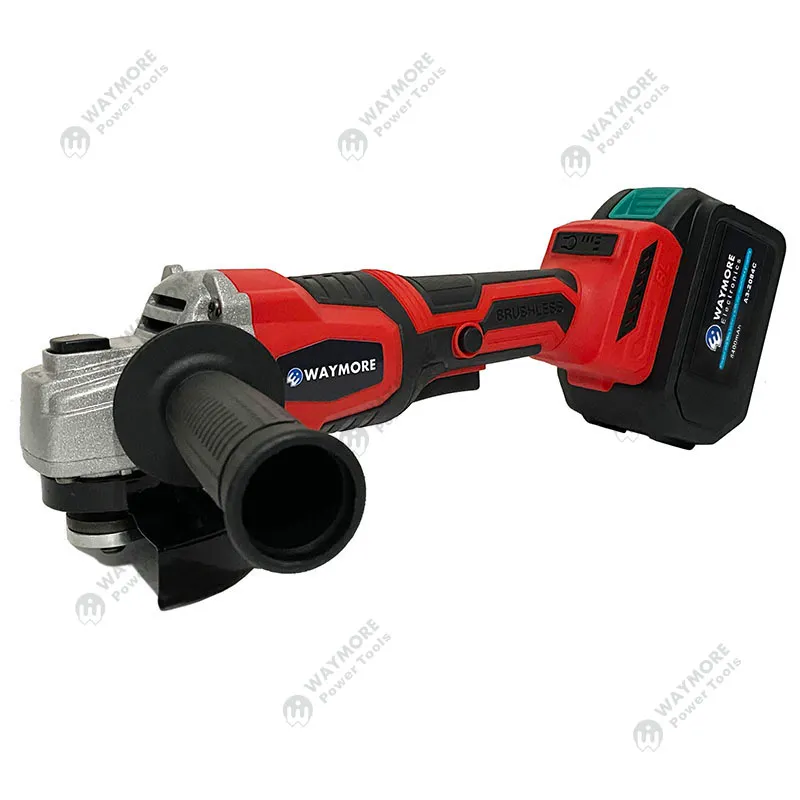
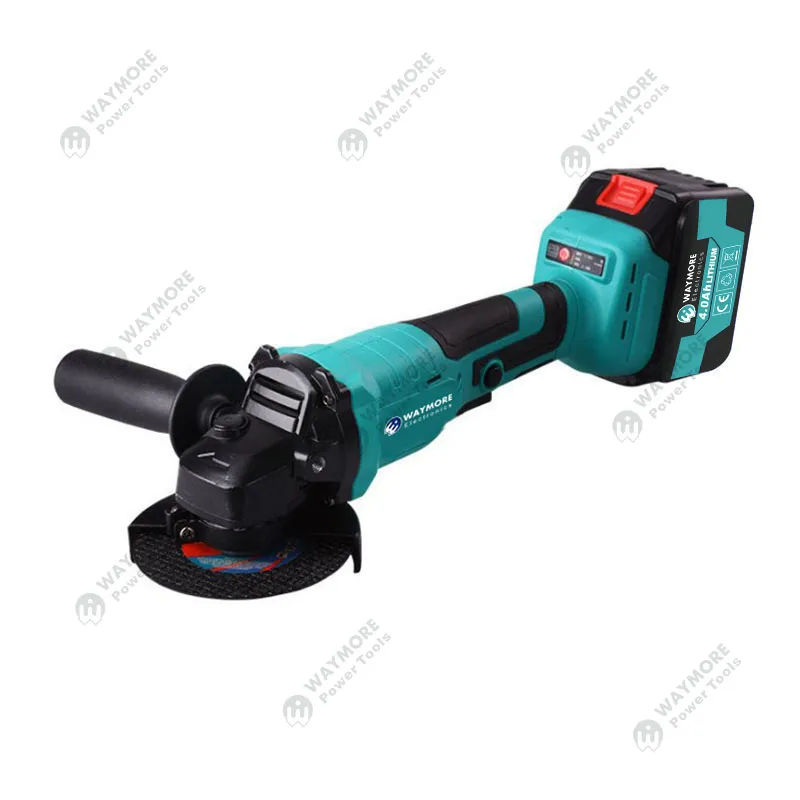
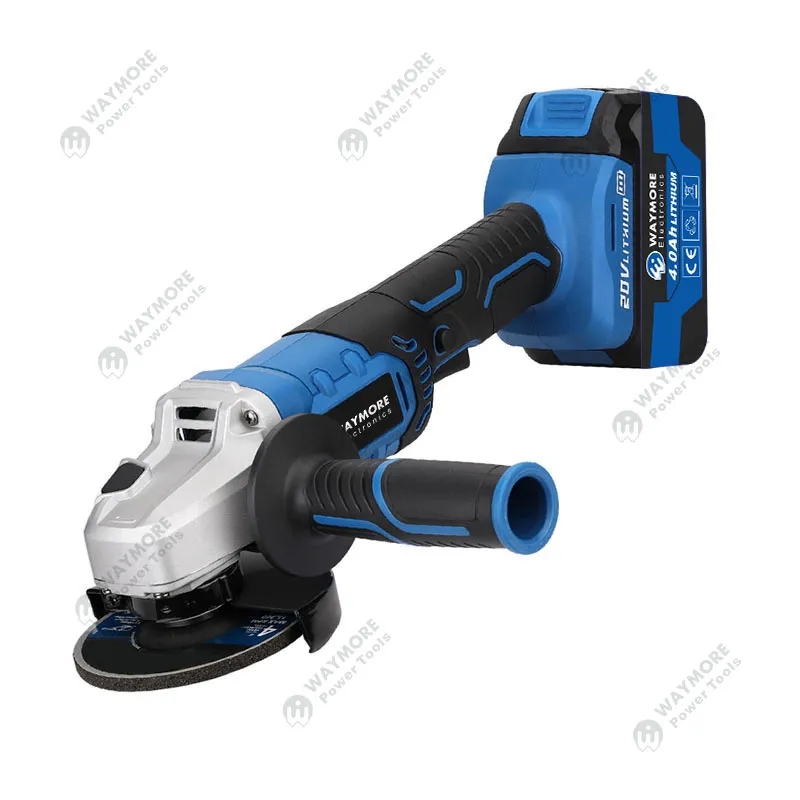
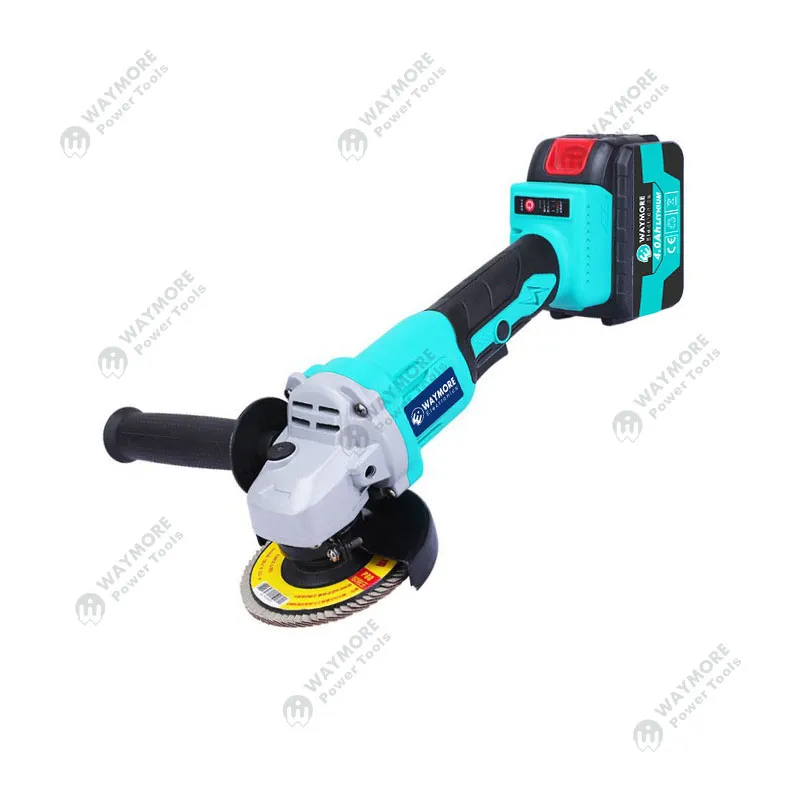
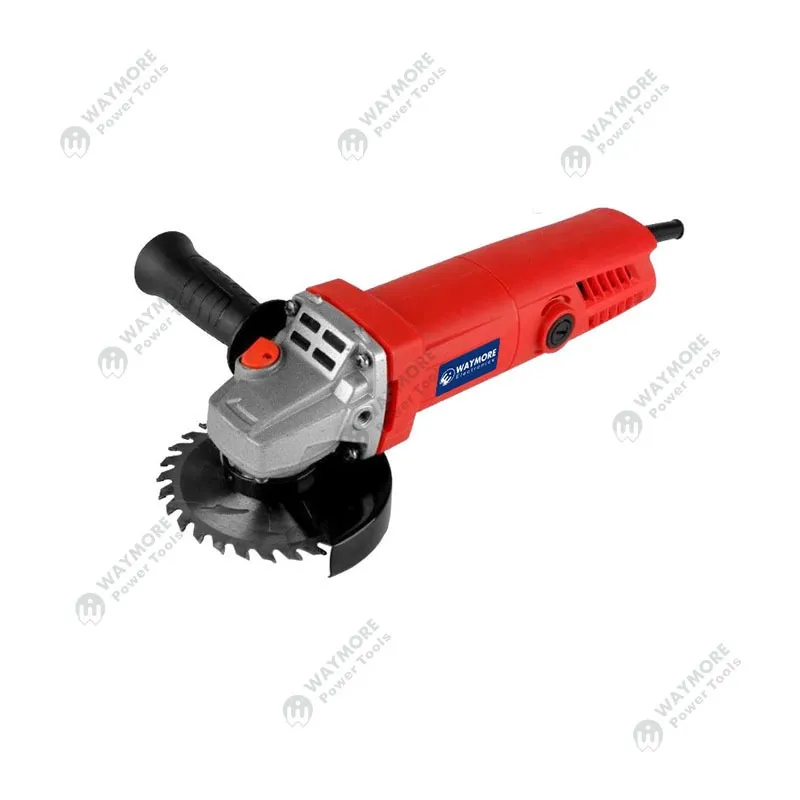
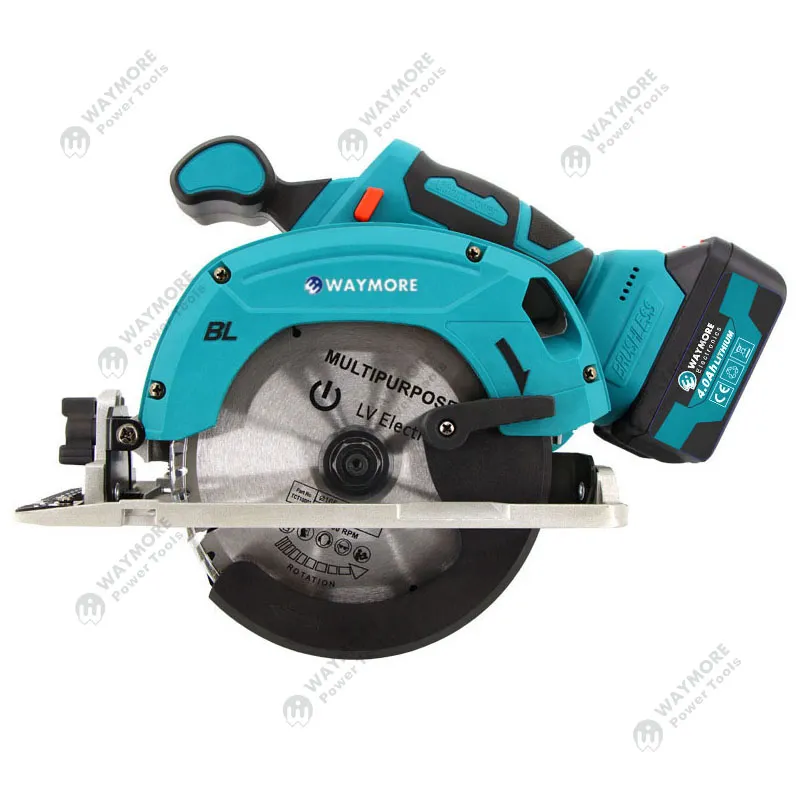
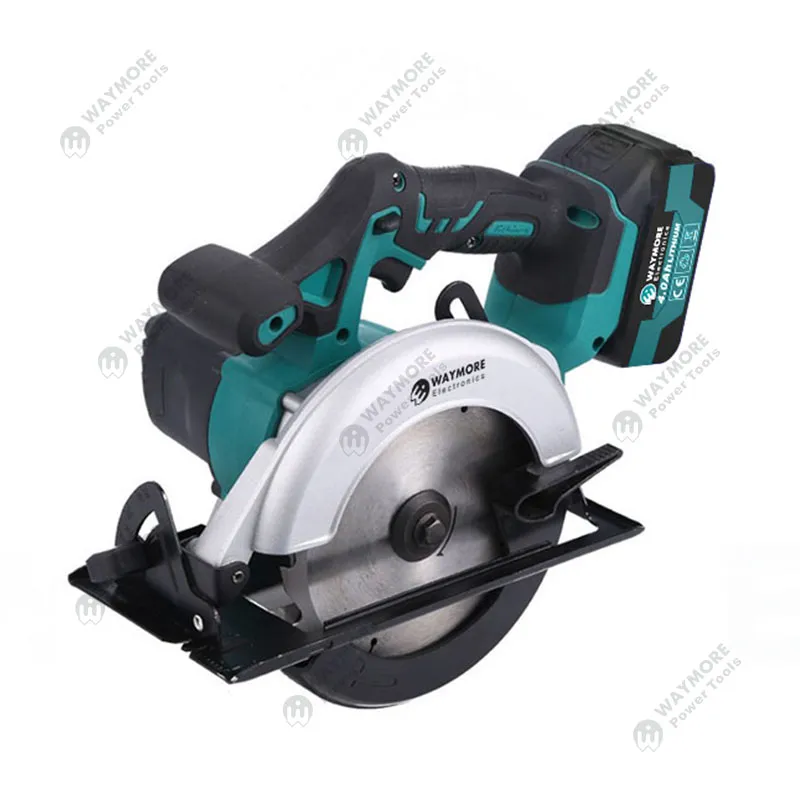
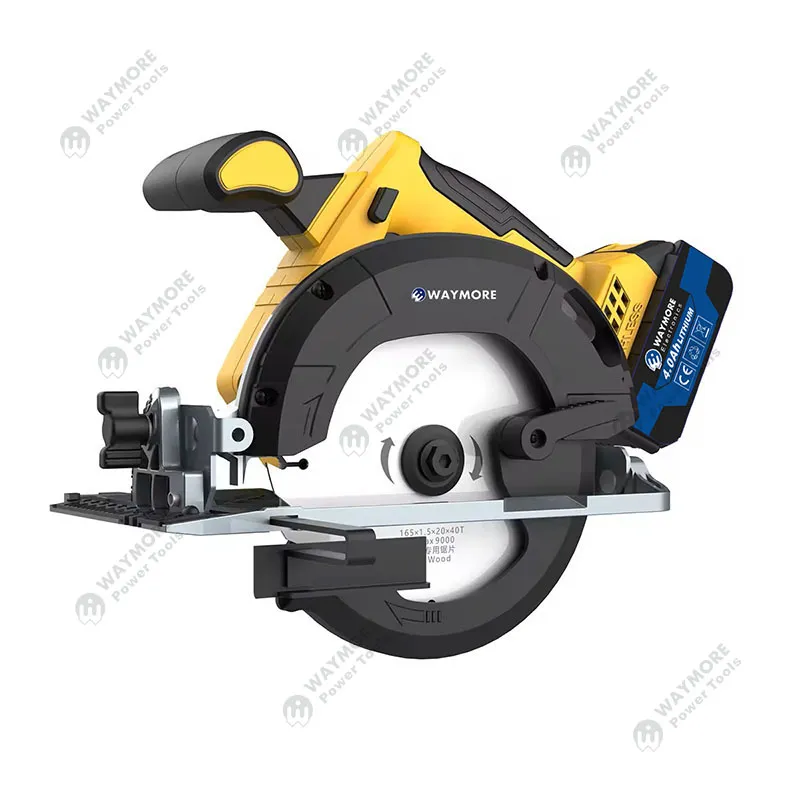
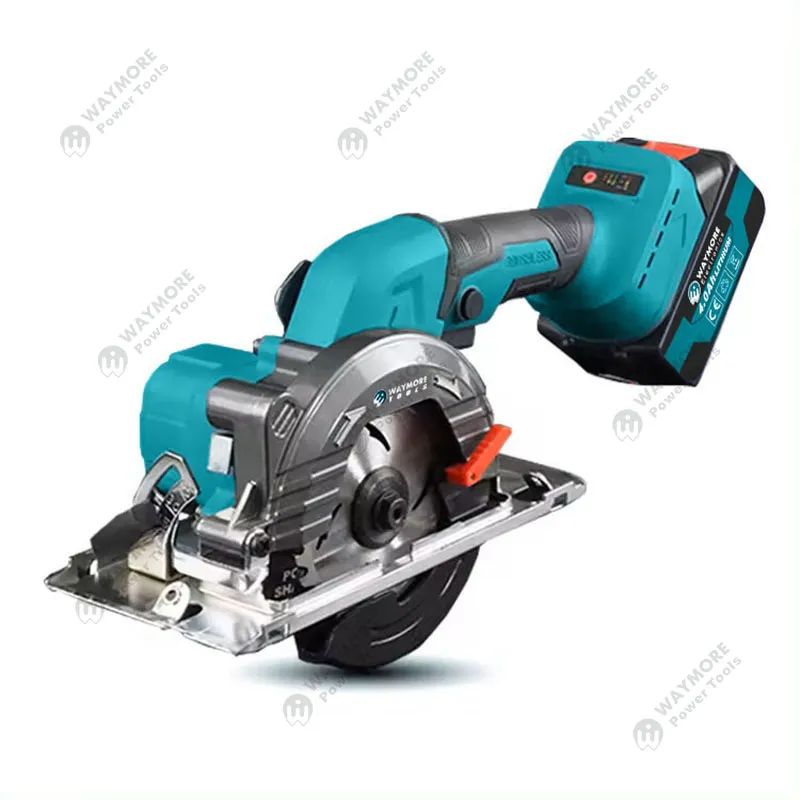
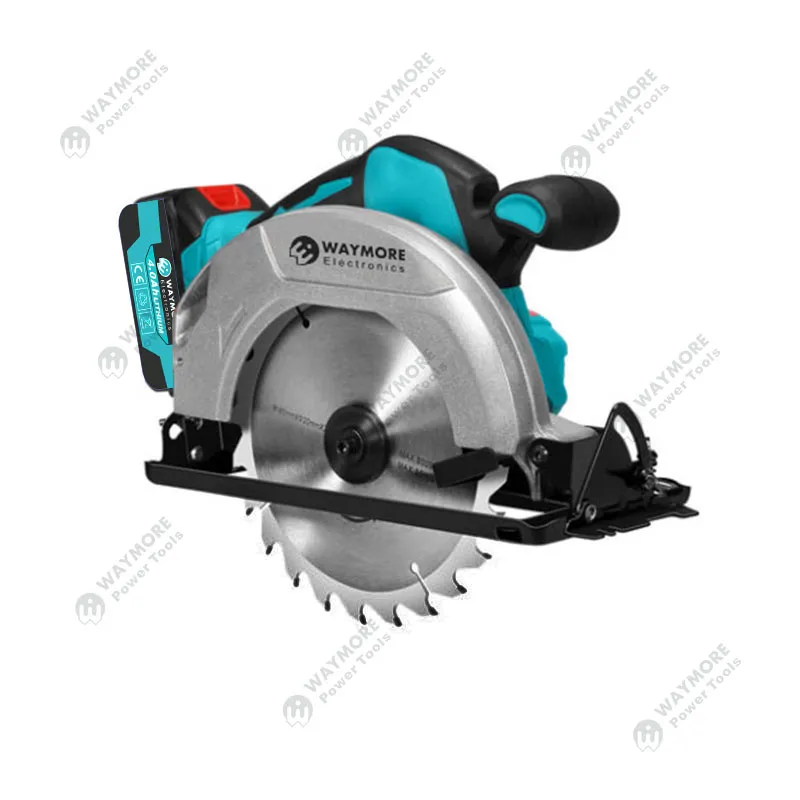
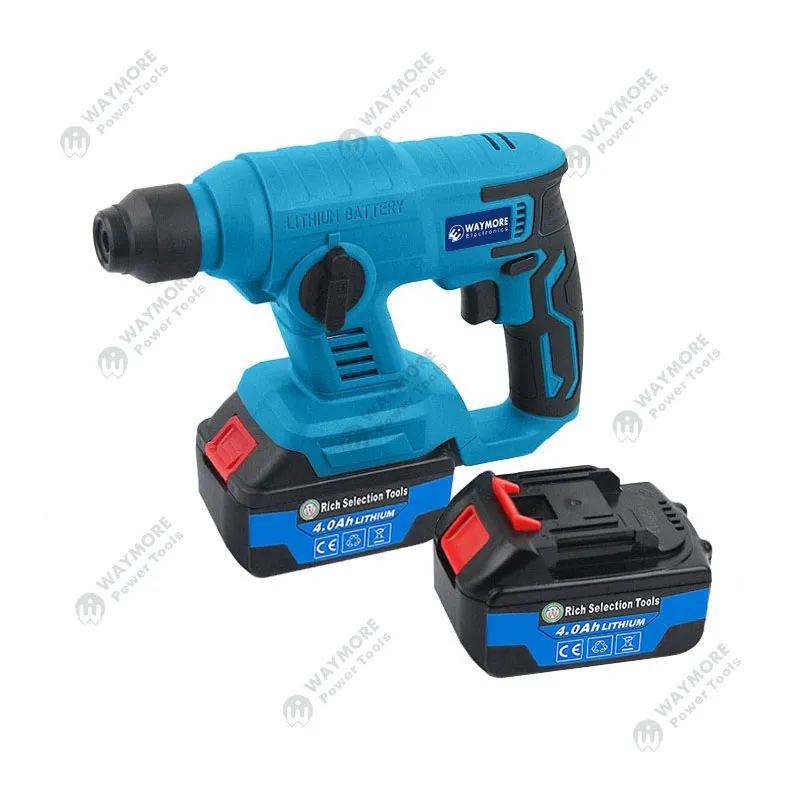
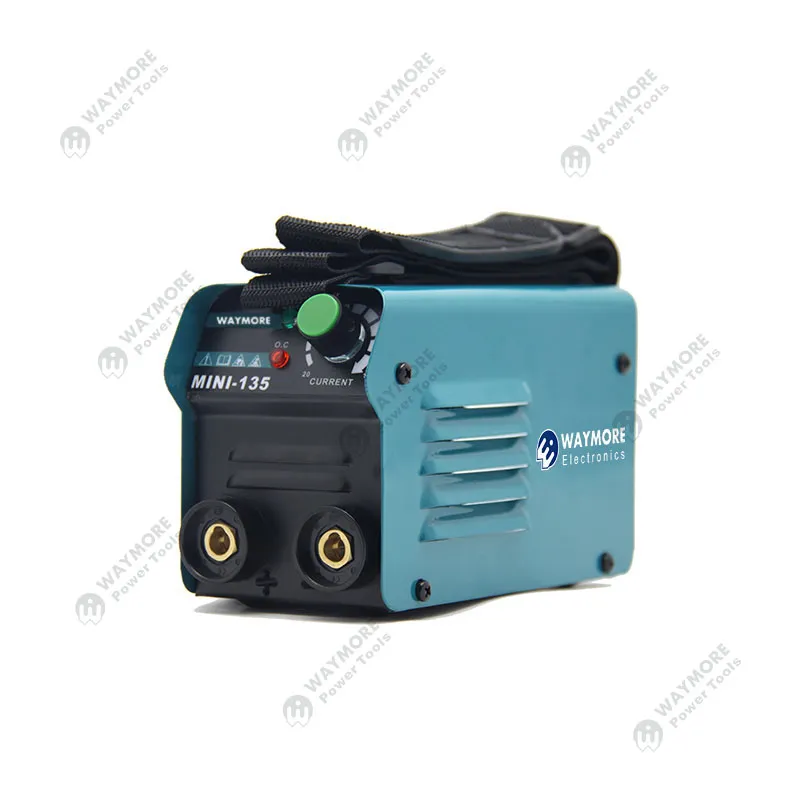
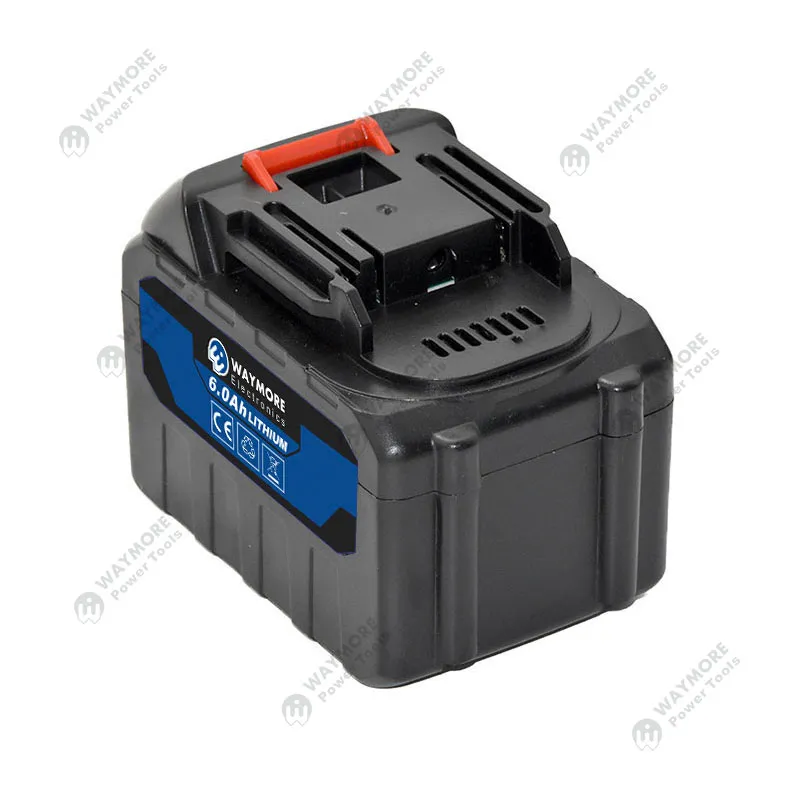
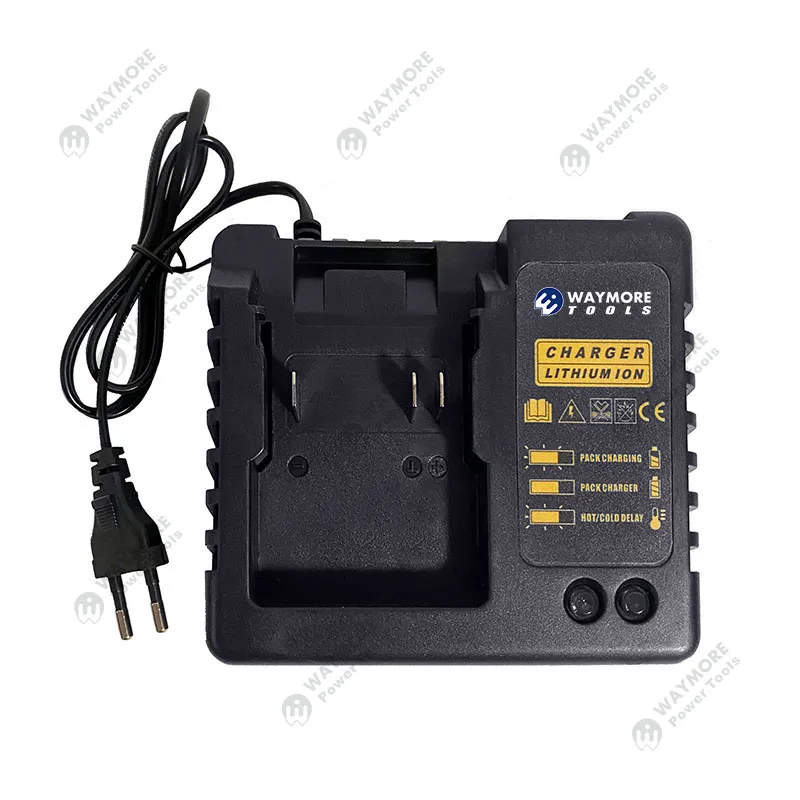
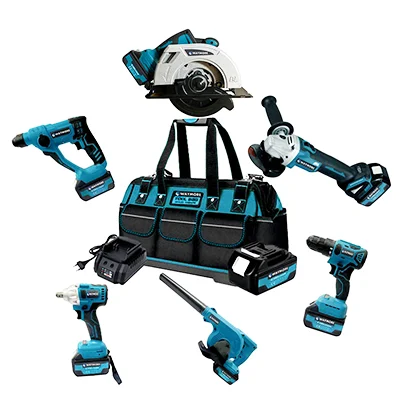
The Waymore Tools impact driver is lightweight but powerful, designed to keep hammering at screws with continuous torque, perfect for long-term use. It's compact and comes with three speeds for adjustable performance.
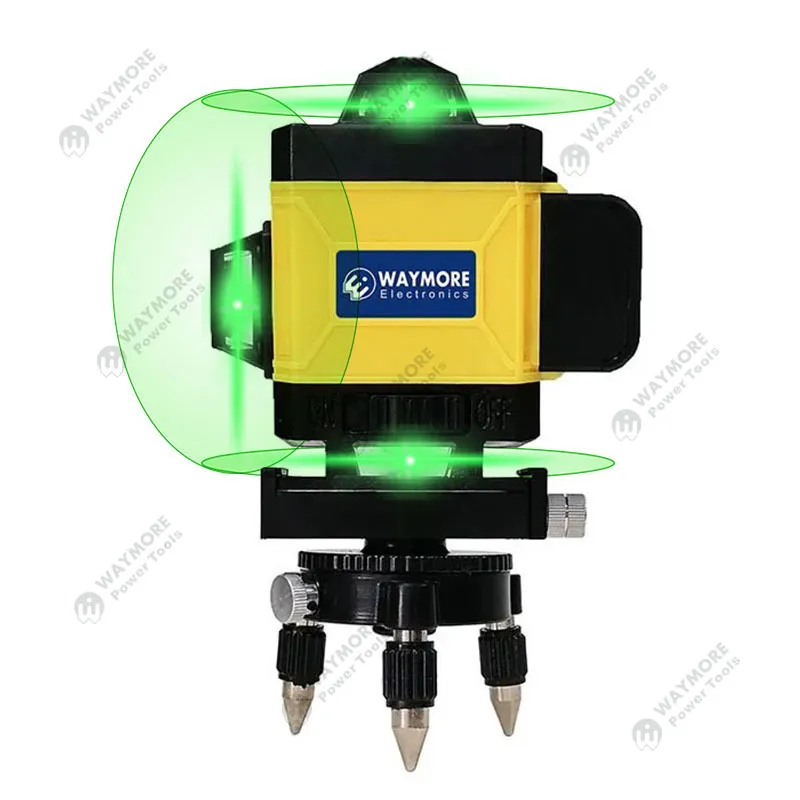
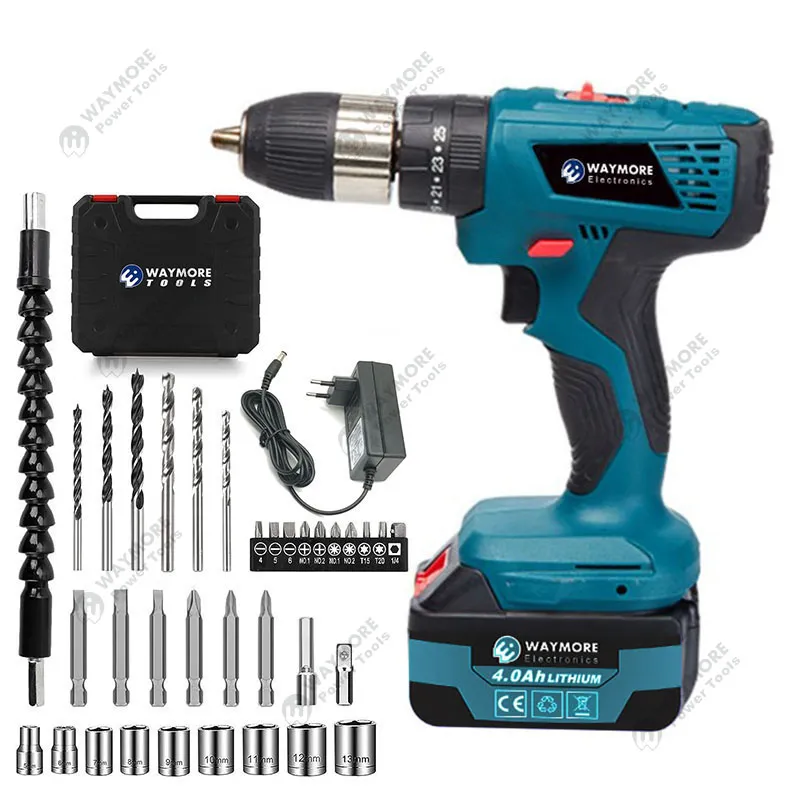
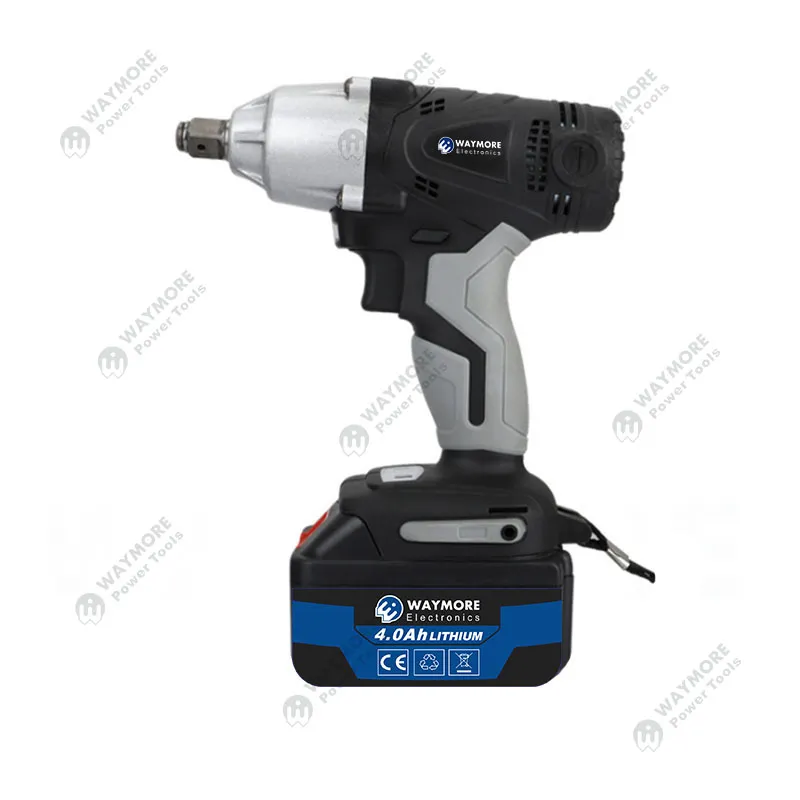
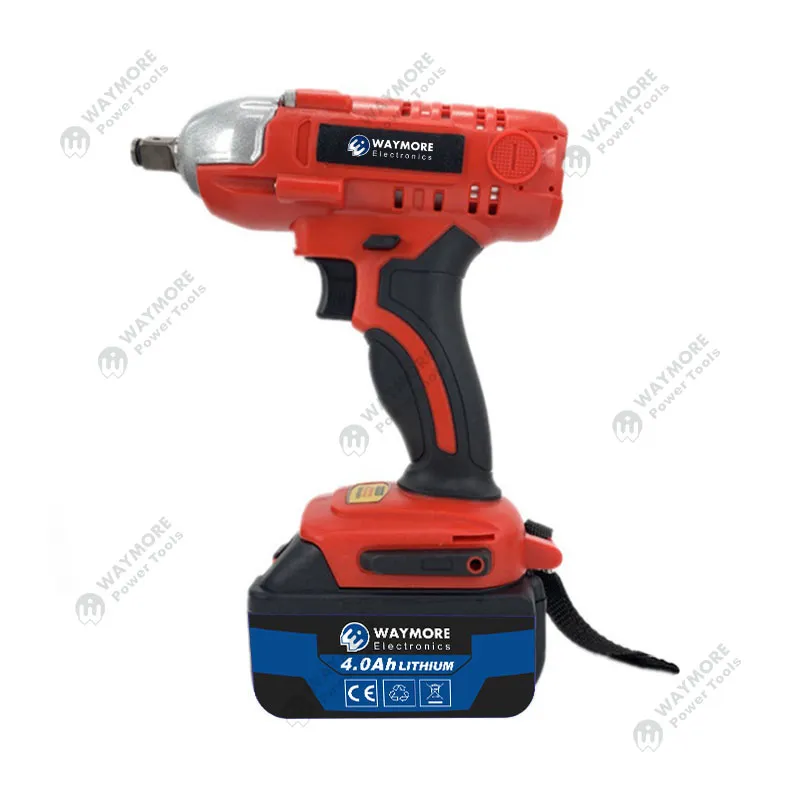
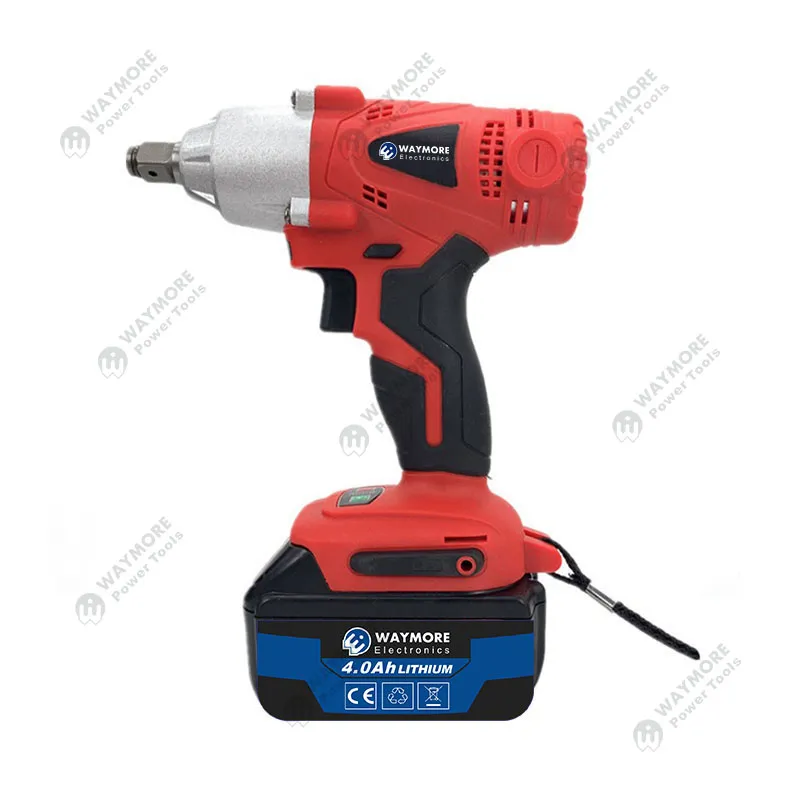
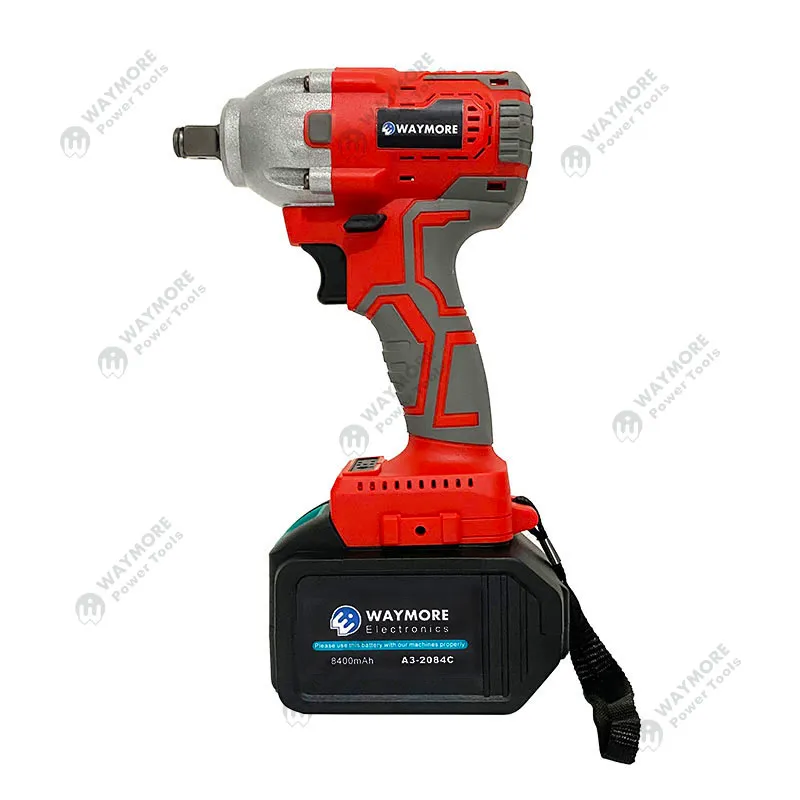
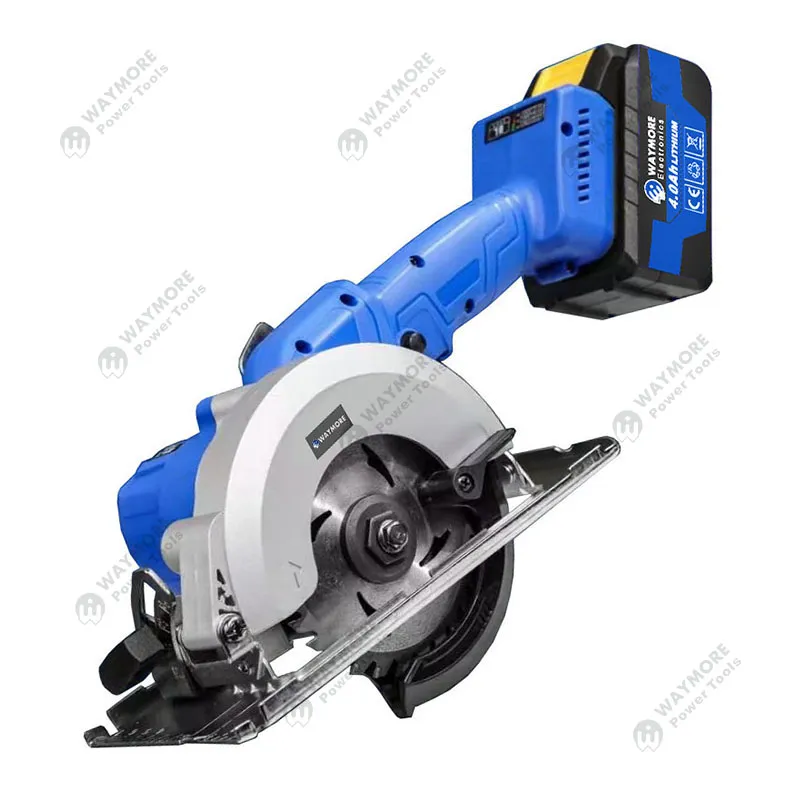
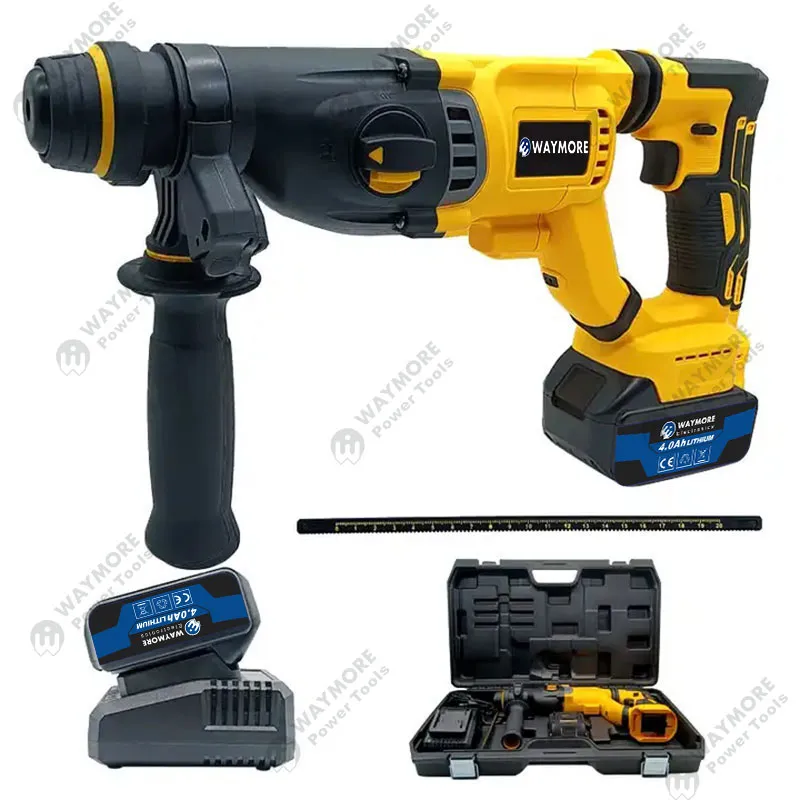
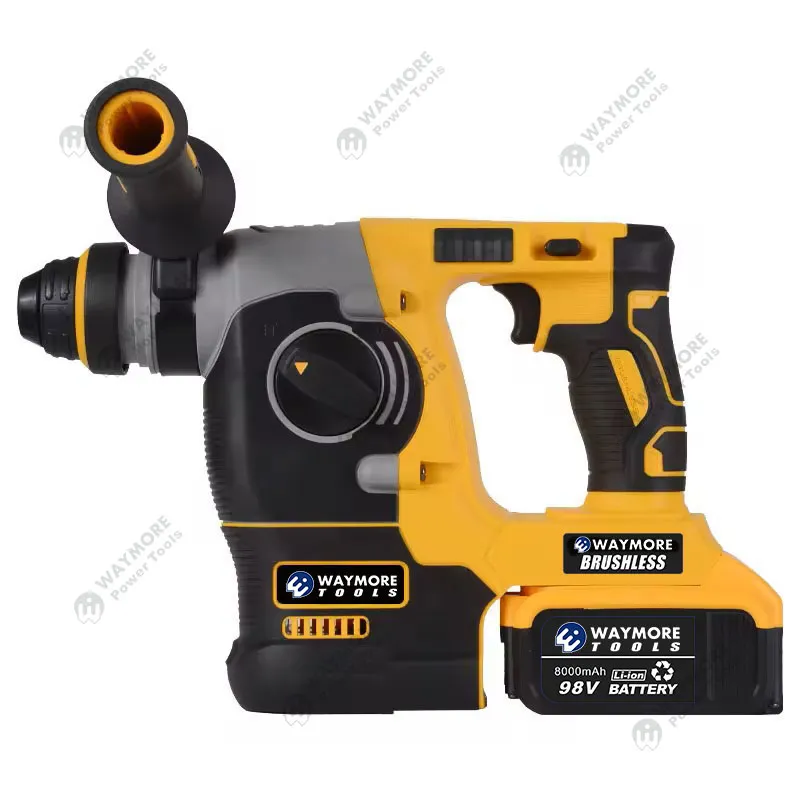
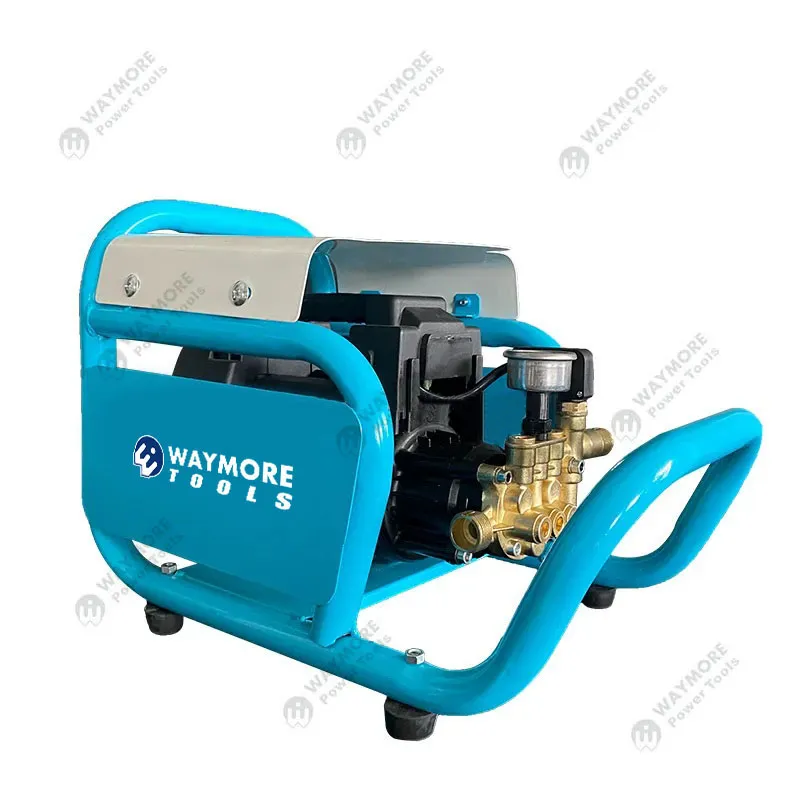
In comparison, the drill from Waymore Tools also has impressive features like adjustable torque settings and a hammer drill function. This makes it versatile for various tasks, from cabinetry to masonry work.
Both tools are essential in their own right, but understanding when to use each will make your DIY projects more efficient and professional.
5. Subfloor Installation Demonstration
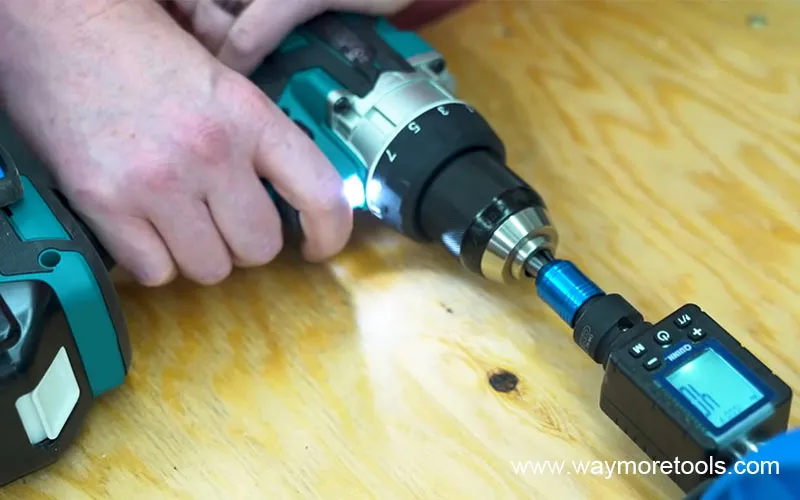
Now, for the demonstration, we’ll show you how to attach subfloor panels to a concrete pad using the drill. The process is simple but requires the right tool. First, use the hammer drill function on your Waymore Tools drill to create holes in the concrete, ensuring the bit drills deeply without cleaning out the sand. The sand left in the hole helps with compression when the screw is driven in, keeping the subfloor secure.
Then, use a Tapcon screw to attach the subfloor. With your Waymore Tools drill set on drill mode, insert the screw into the drilled hole and drive it until it is flush with the surface. This ensures a solid installation.
6. Conclusion
If you’re going to be doing a lot of DIY work that involves driving screws and need precision, both the drill and the impact driver are invaluable. The impact driver will provide the power and efficiency you need for long-term or heavy-duty tasks, while the drill’s adjustable torque and hammer functions will give you the precision and flexibility for more delicate or demanding applications.
If you're serious about home renovations, the best advice is to invest in both tools from Waymore Tools. They offer the perfect balance between power, durability, and affordability.


Leave a Comment